Partner Portal Documentation
Partner Portal Documentation
Overview and purpose
The Partner Portal is designed to give you full control over how you manage leads, customers, scans, pricing, and integrations.
From a commercial point of view, the model is simple:
- FYND invoices you monthly, based on usage.
- You invoice your own customers, using your own pricing and margins.
- The portal gives you visibility and tools to manage this end to end, without FYND interacting directly with your customers unless explicitly required.
This documentation walks through the portal in the order a new partner will experience it, explaining what each section is for and how it fits into your day to day workflow.
Accepting the Terms
When you sign up and access the Partner Portal for the first time, you will be required to accept the Terms.
This is a mandatory step before you can use any functionality in the platform.
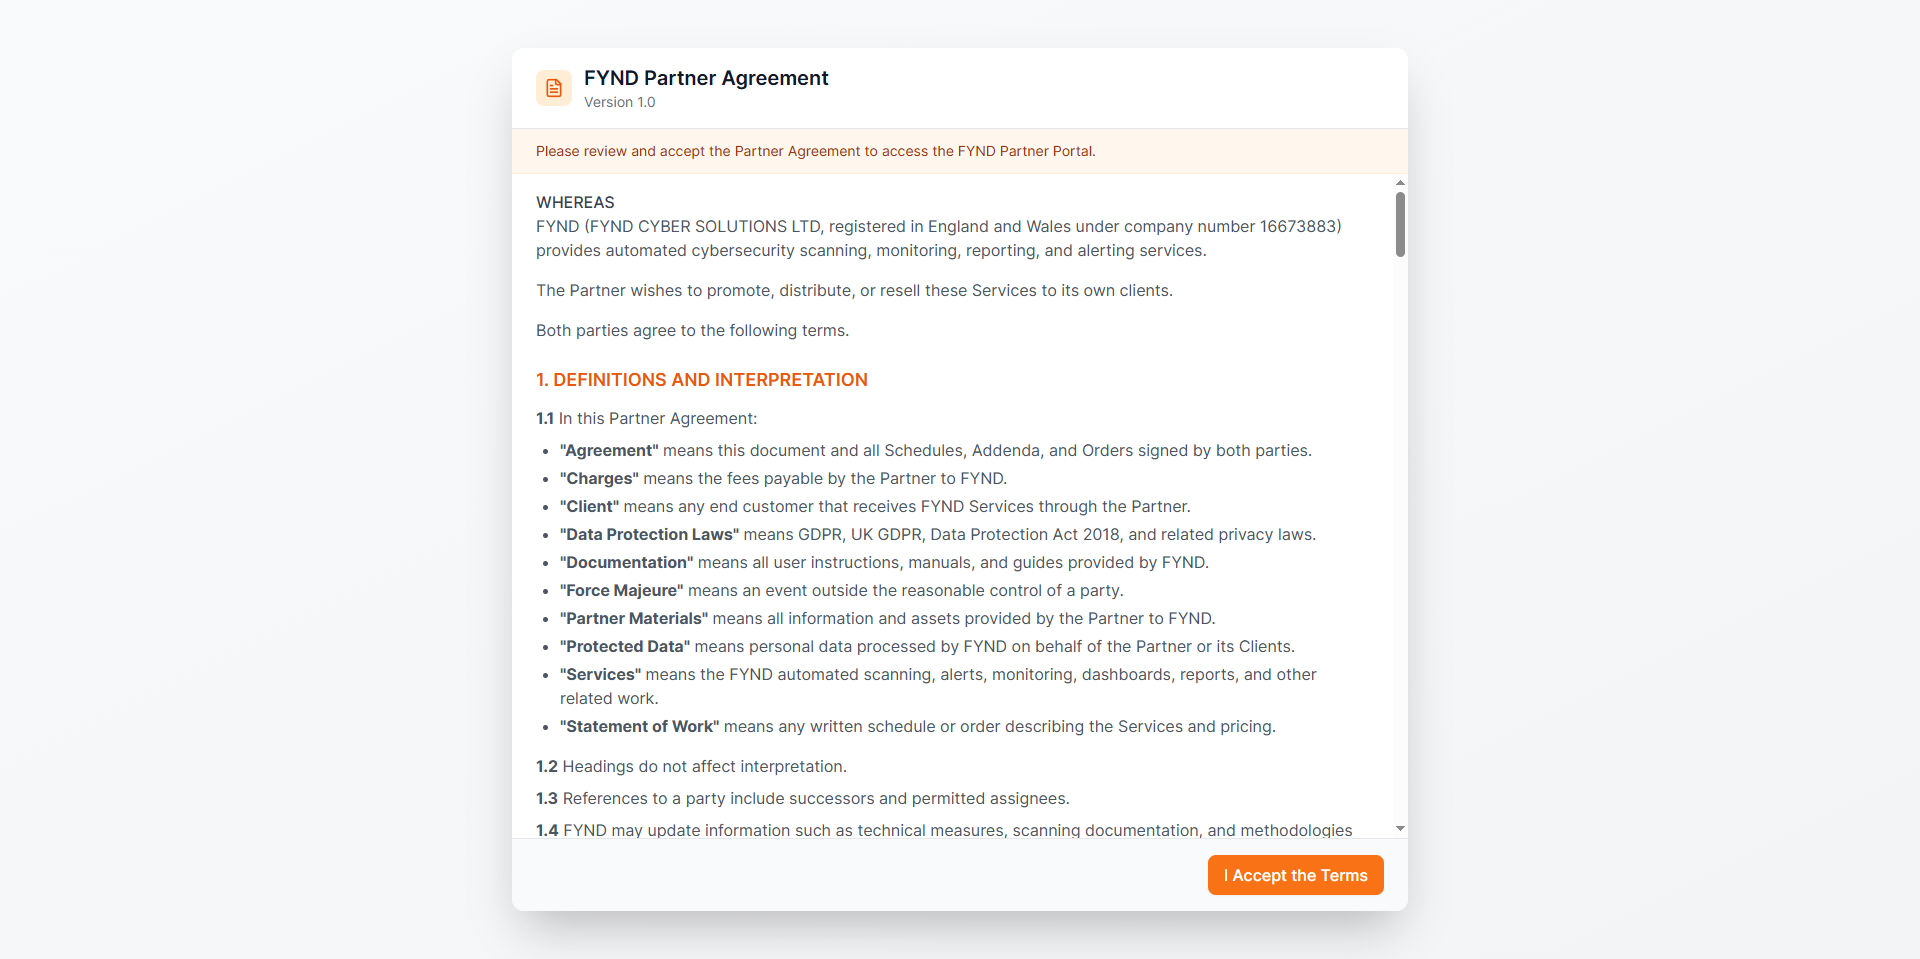
Once accepted, you are taken directly to the main dashboard.
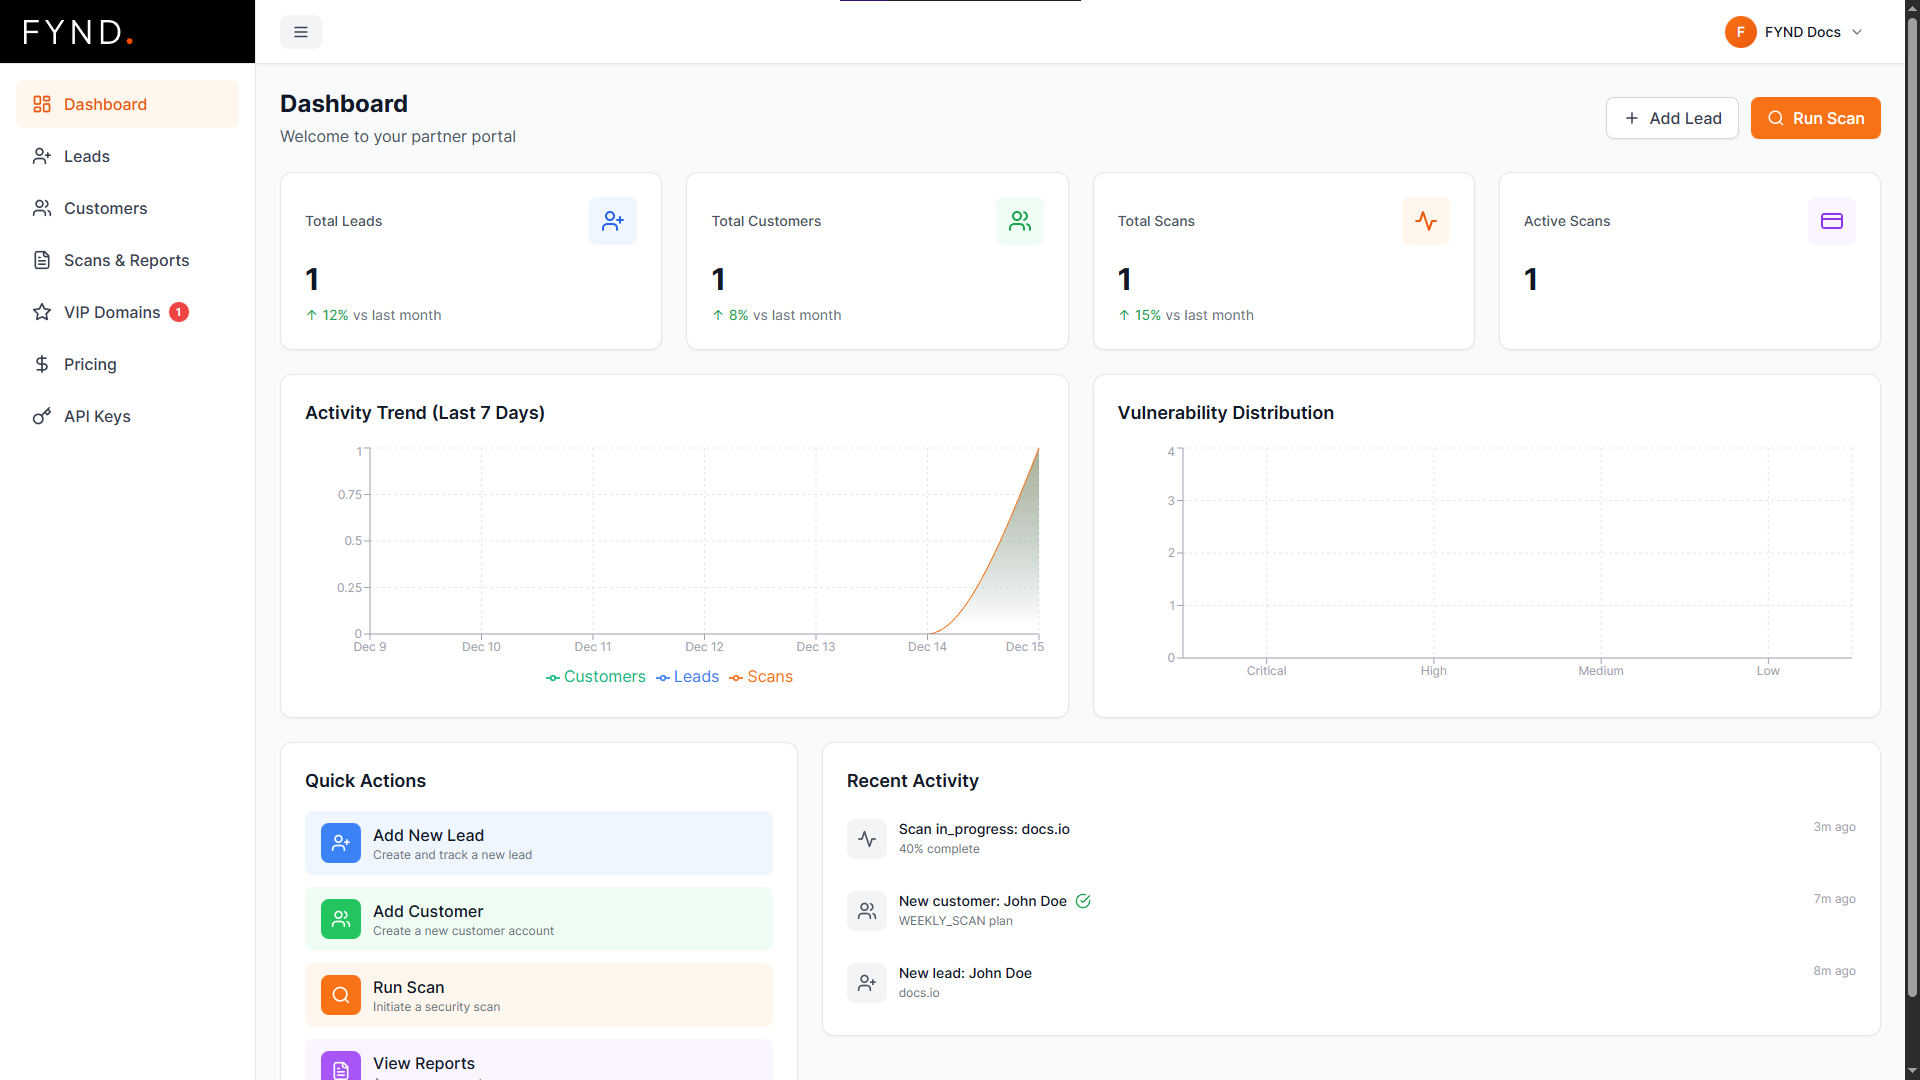
Main Dashboard
The main dashboard gives you a high level view of your activity and business performance.
What you see here
-
Summary cards
- Total Leads
- Total Customers
- Total Scans
- Active Scans
-
Graphs
- Activity over time
- Vulnerability distribution across your scanned domains
-
Recent Activity
- A chronological feed showing important events such as:
- New leads created
- Customers added
- Scans triggered or completed
- A chronological feed showing important events such as:
This page is meant to answer one question quickly:
What is happening right now across my accounts?
Leads
The Leads section is where potential customers live before they are promoted to full customers.

Creating a lead
Click the Add Lead button in the top right.
This opens a modal where you can enter the lead details.
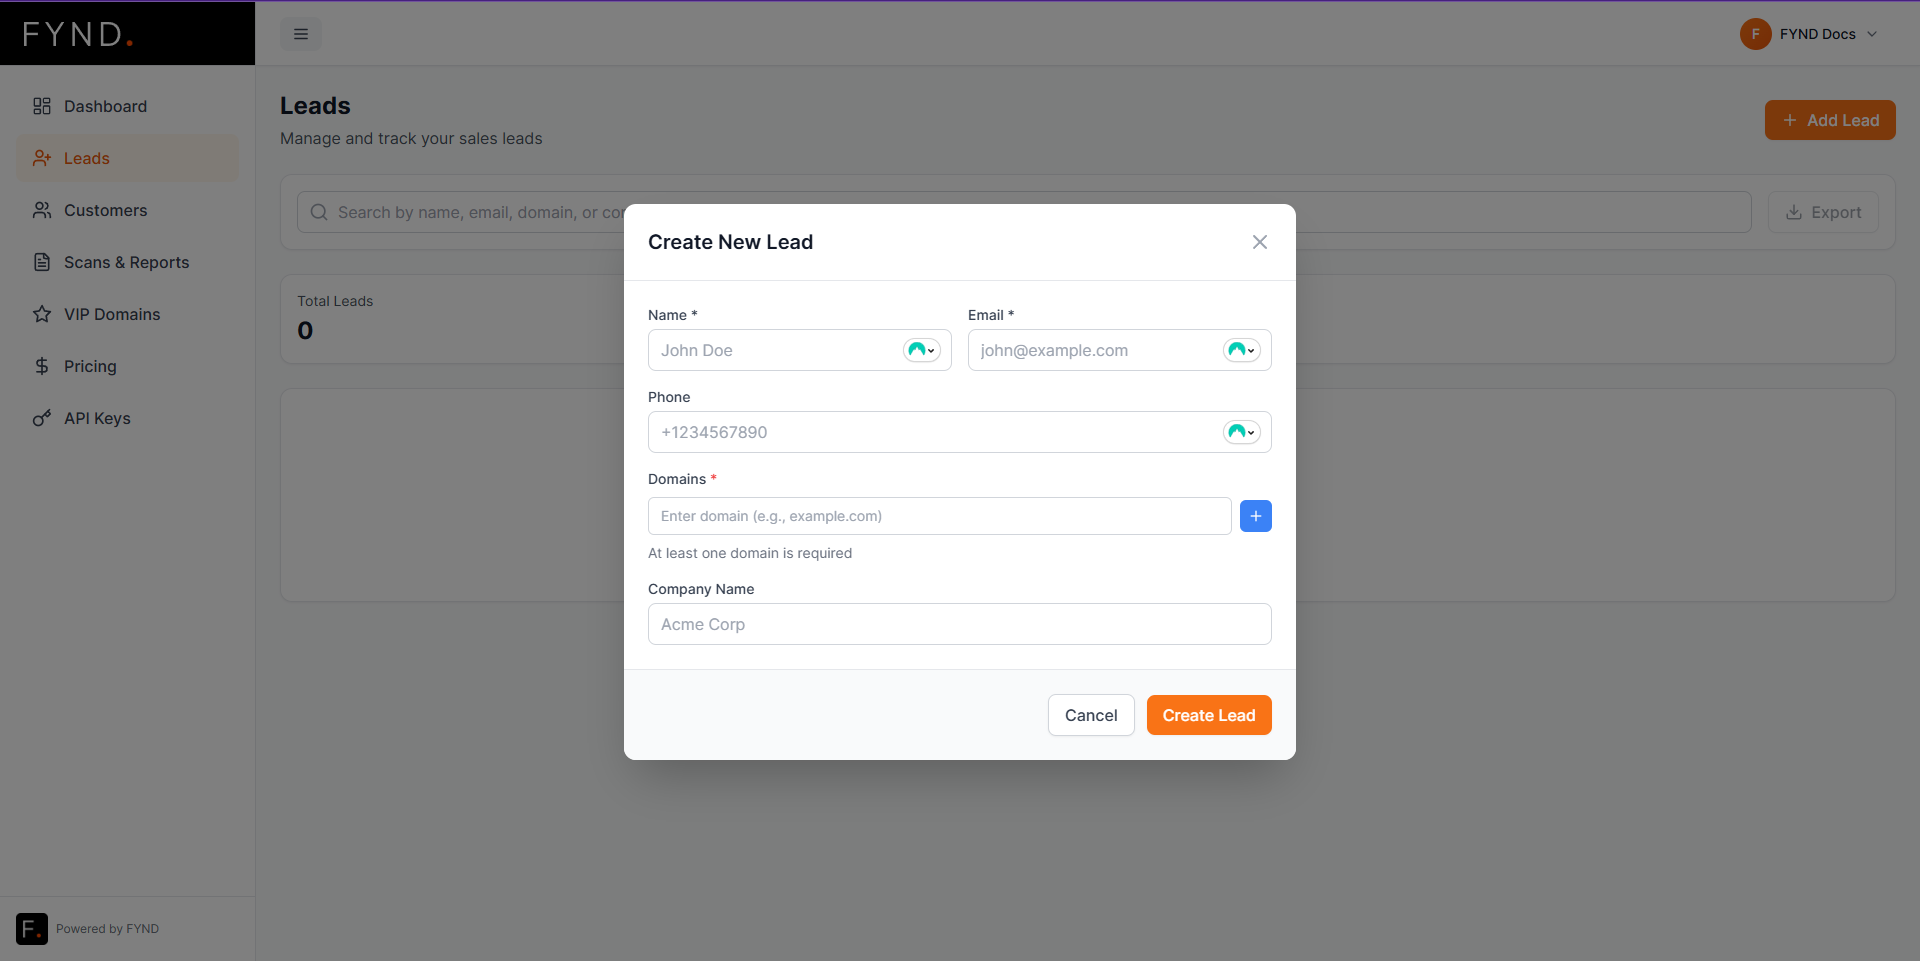
Filled example:
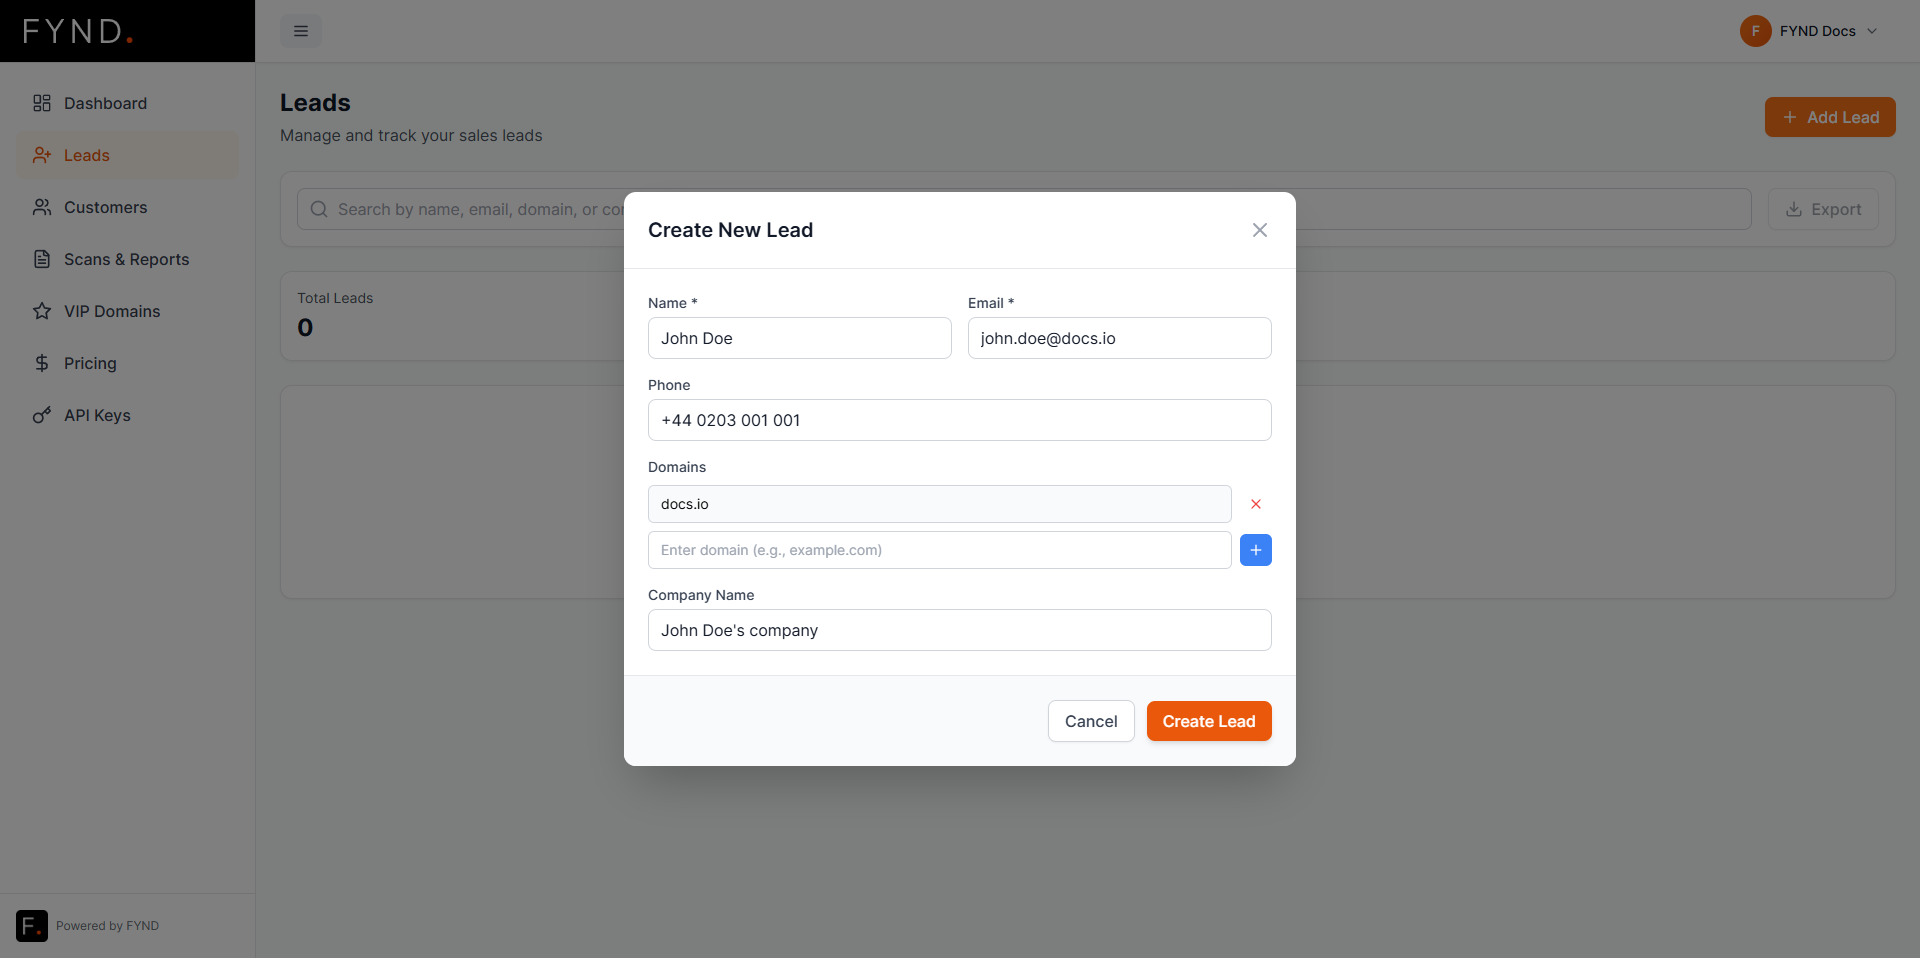
Once saved, the lead will appear in the table.
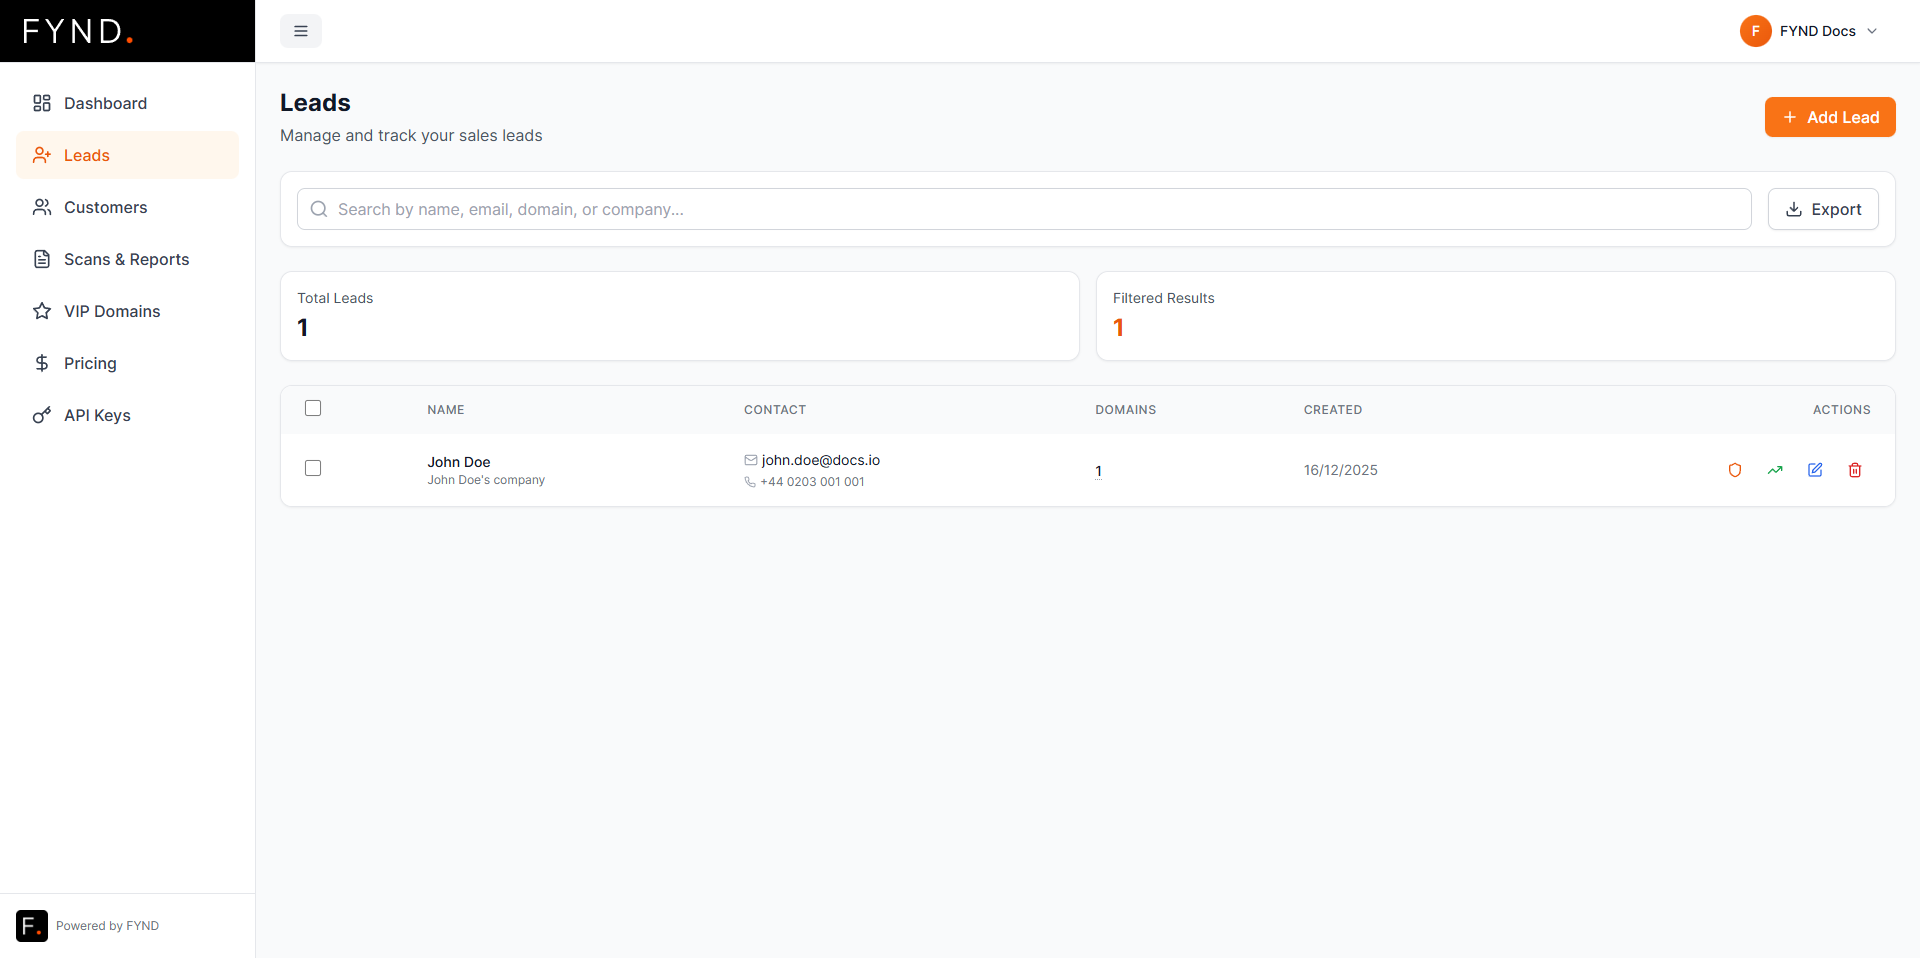
Actions available on a lead
For each lead, you can:
-
Trigger a scan by clicking the shield icon
This allows you to demonstrate value before converting them to a customer. -
Promote to customer by clicking the green growth icon
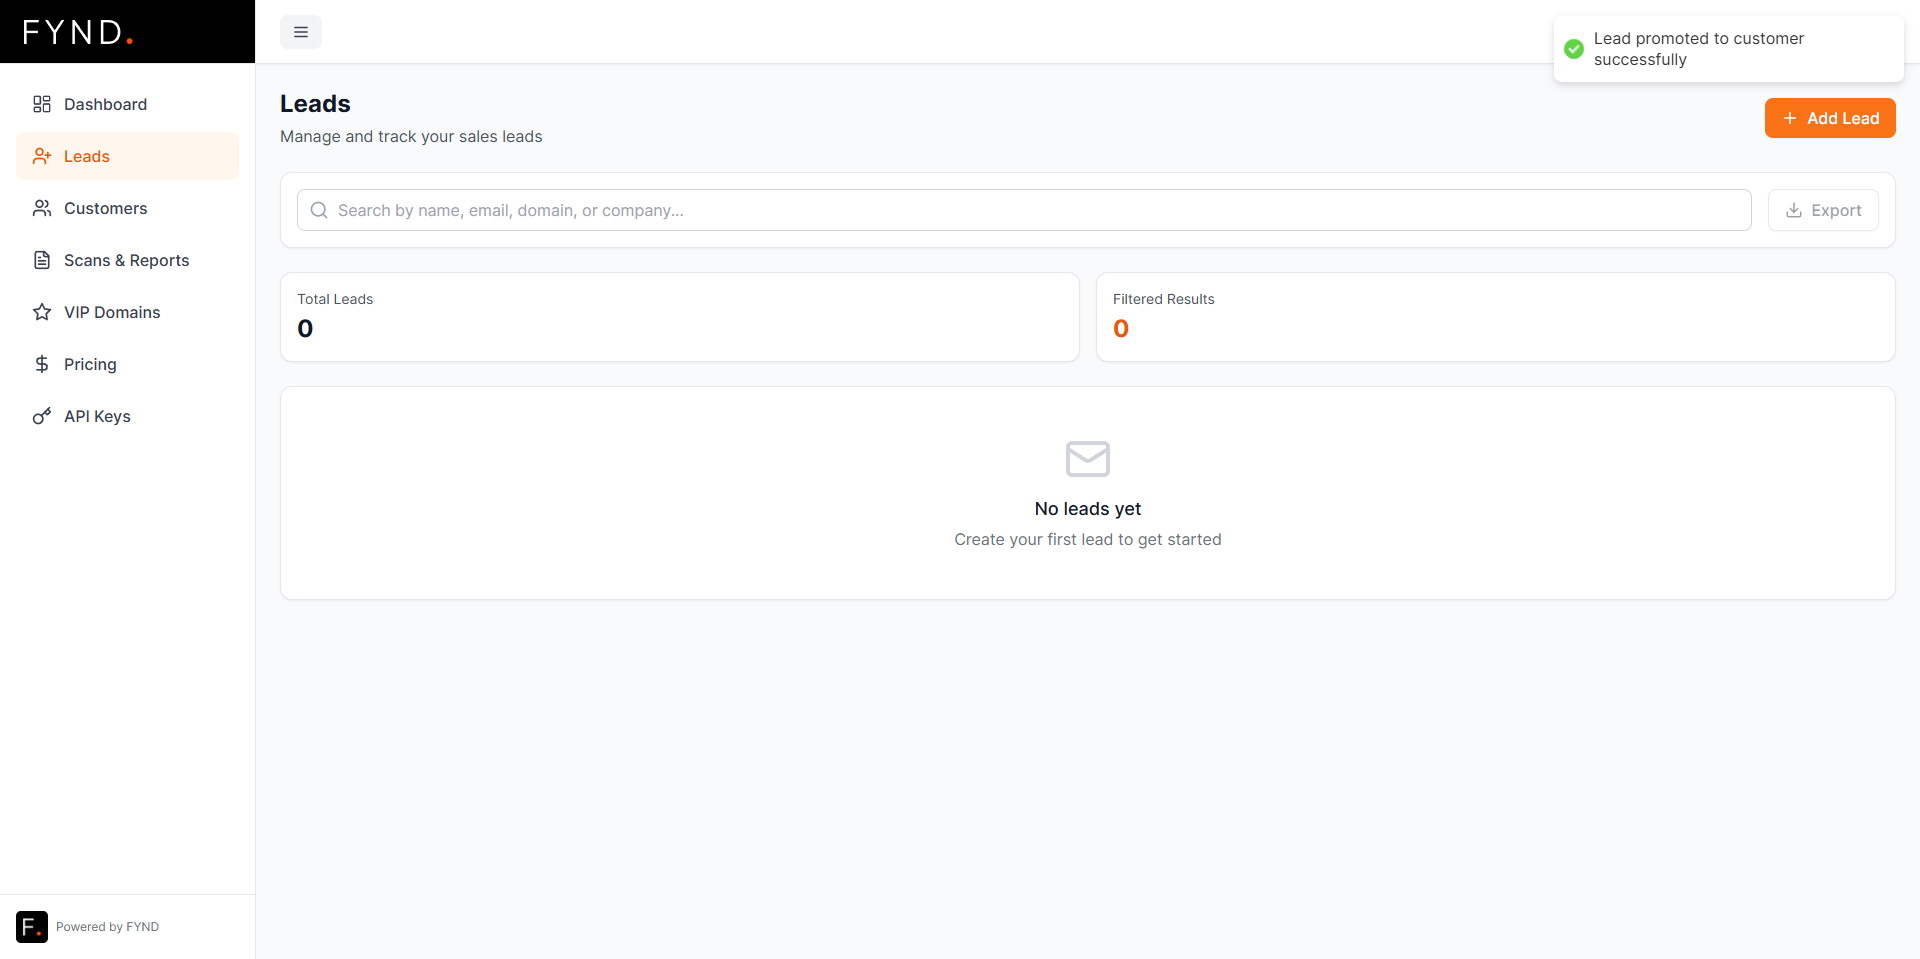
This opens a confirmation modal.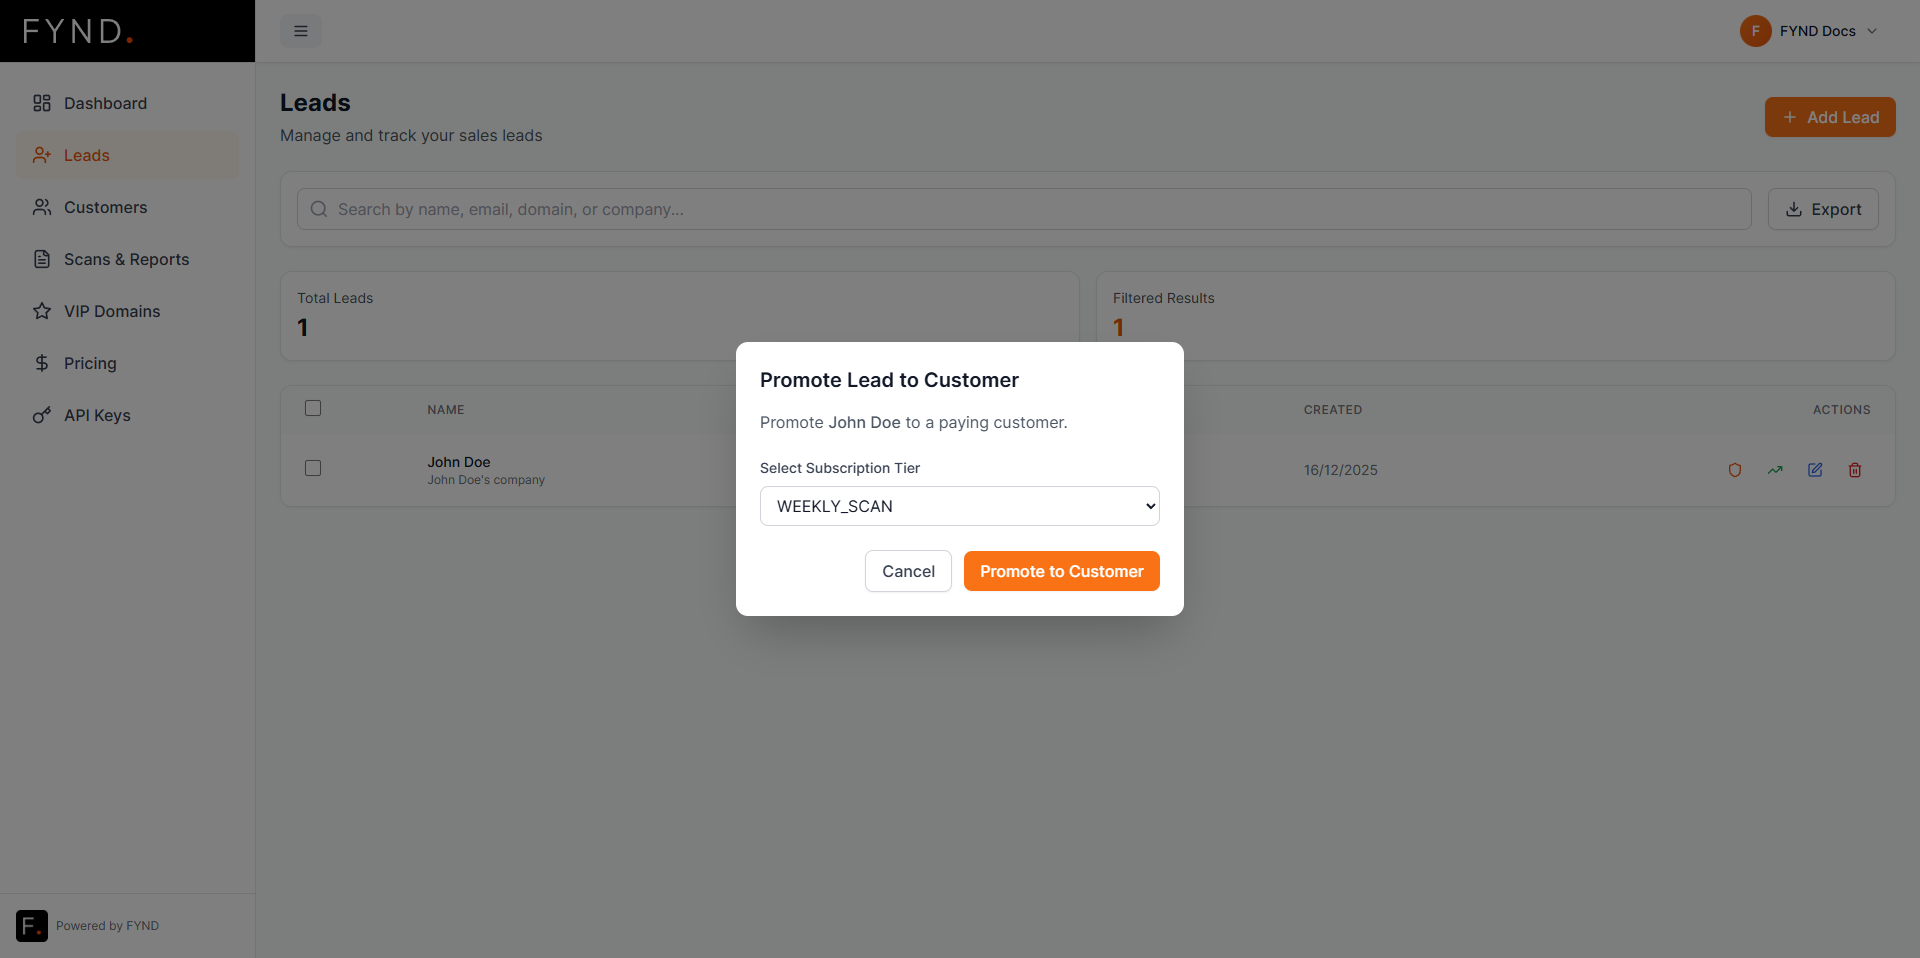
After confirmation, the lead is converted into a customer.
-
Edit a lead using the pencil icon
-
Delete a lead using the trash icon
Customers
Customers are active, billable entities in your account.

Creating a customer directly
You can also create customers directly without going through the lead stage.
Click Add Customer and fill in the form.
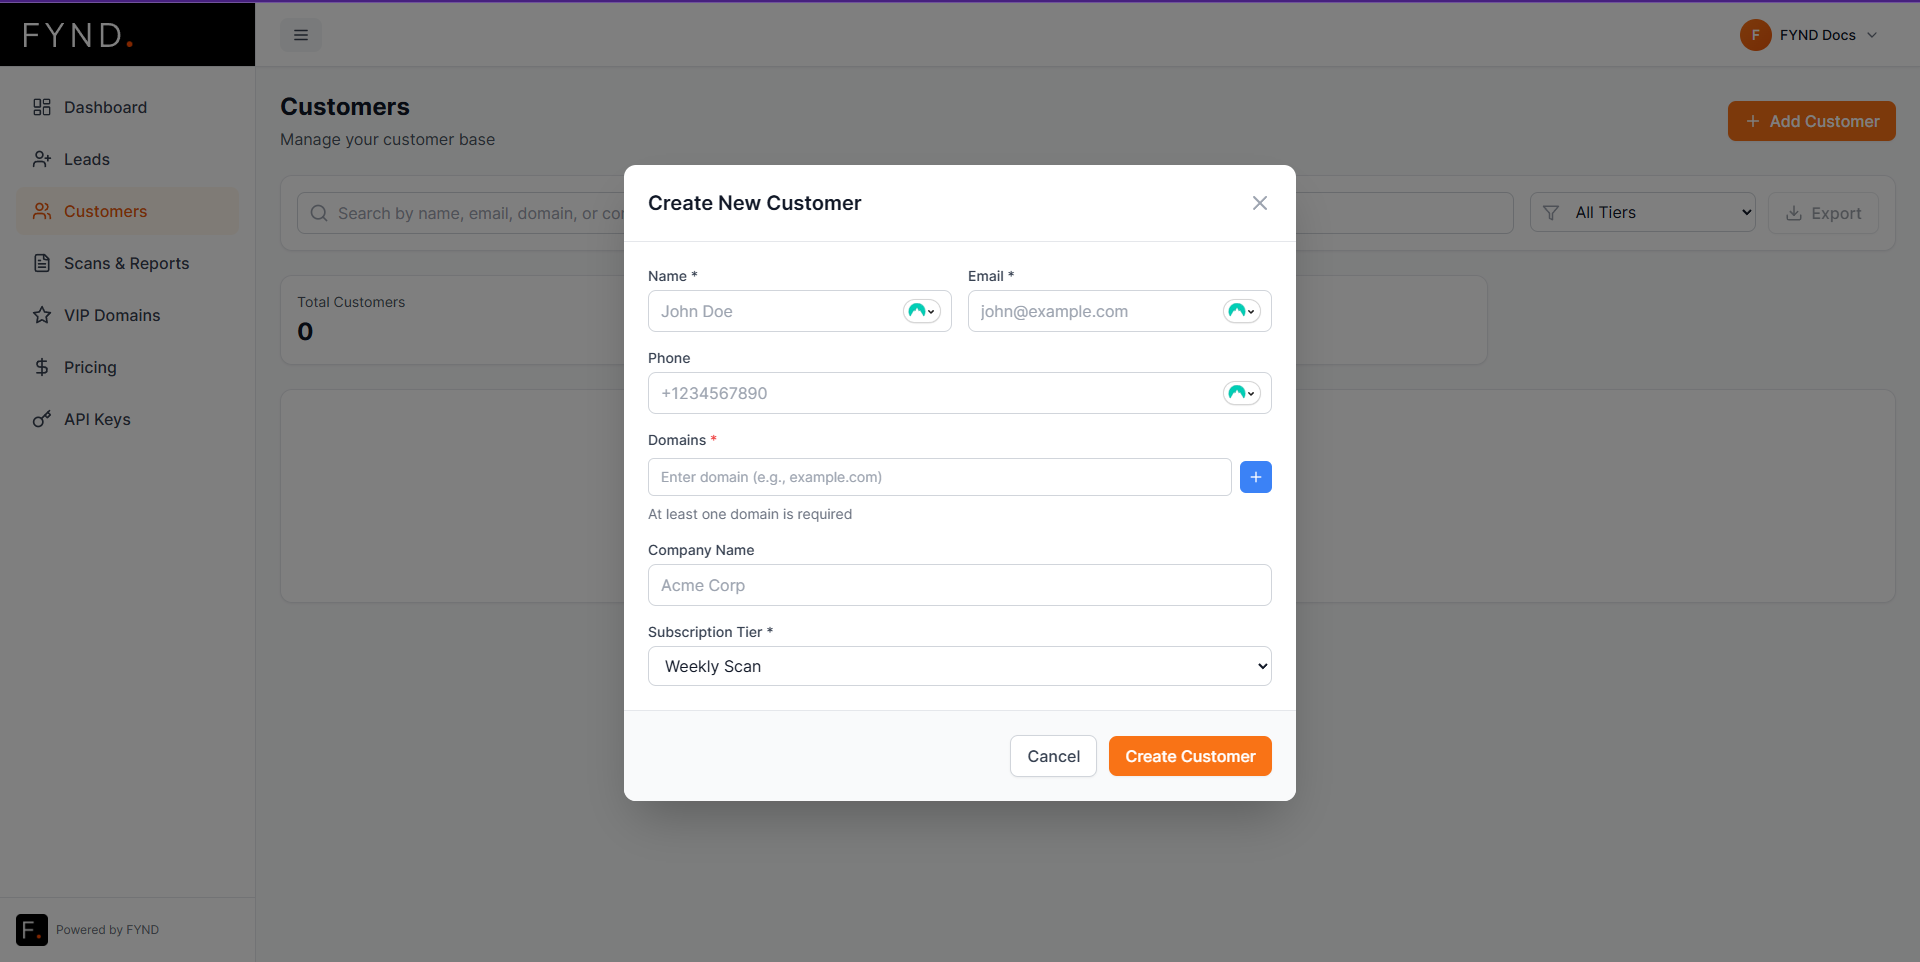
Once created, the customer appears in the table and is ready for scans.
Customer actions
From the customer list you can:
- Trigger a scan using the shield icon
- Edit customer details using the pencil icon
- Delete a customer using the trash icon
Customer Details and VIP Domains
Clicking on a customer opens the Customer Details page.
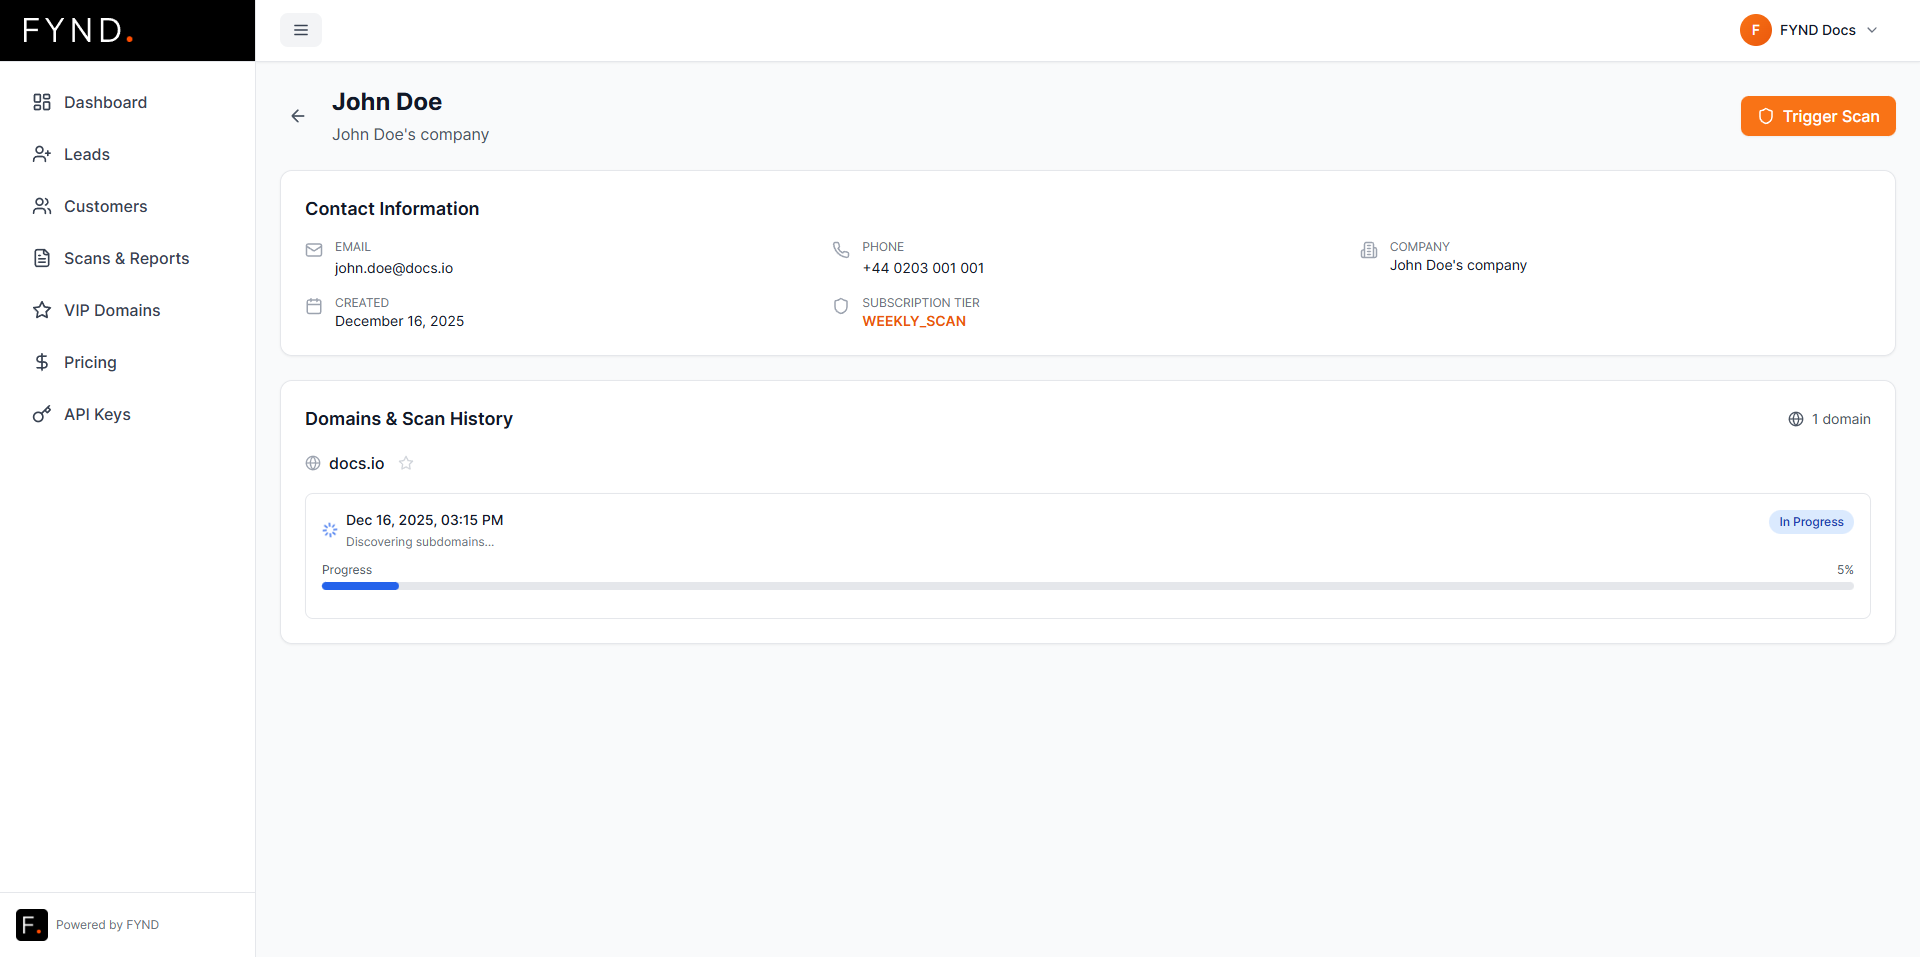
Promoting a domain to VIP
Inside the customer details, you can mark a domain as VIP by clicking the star icon.
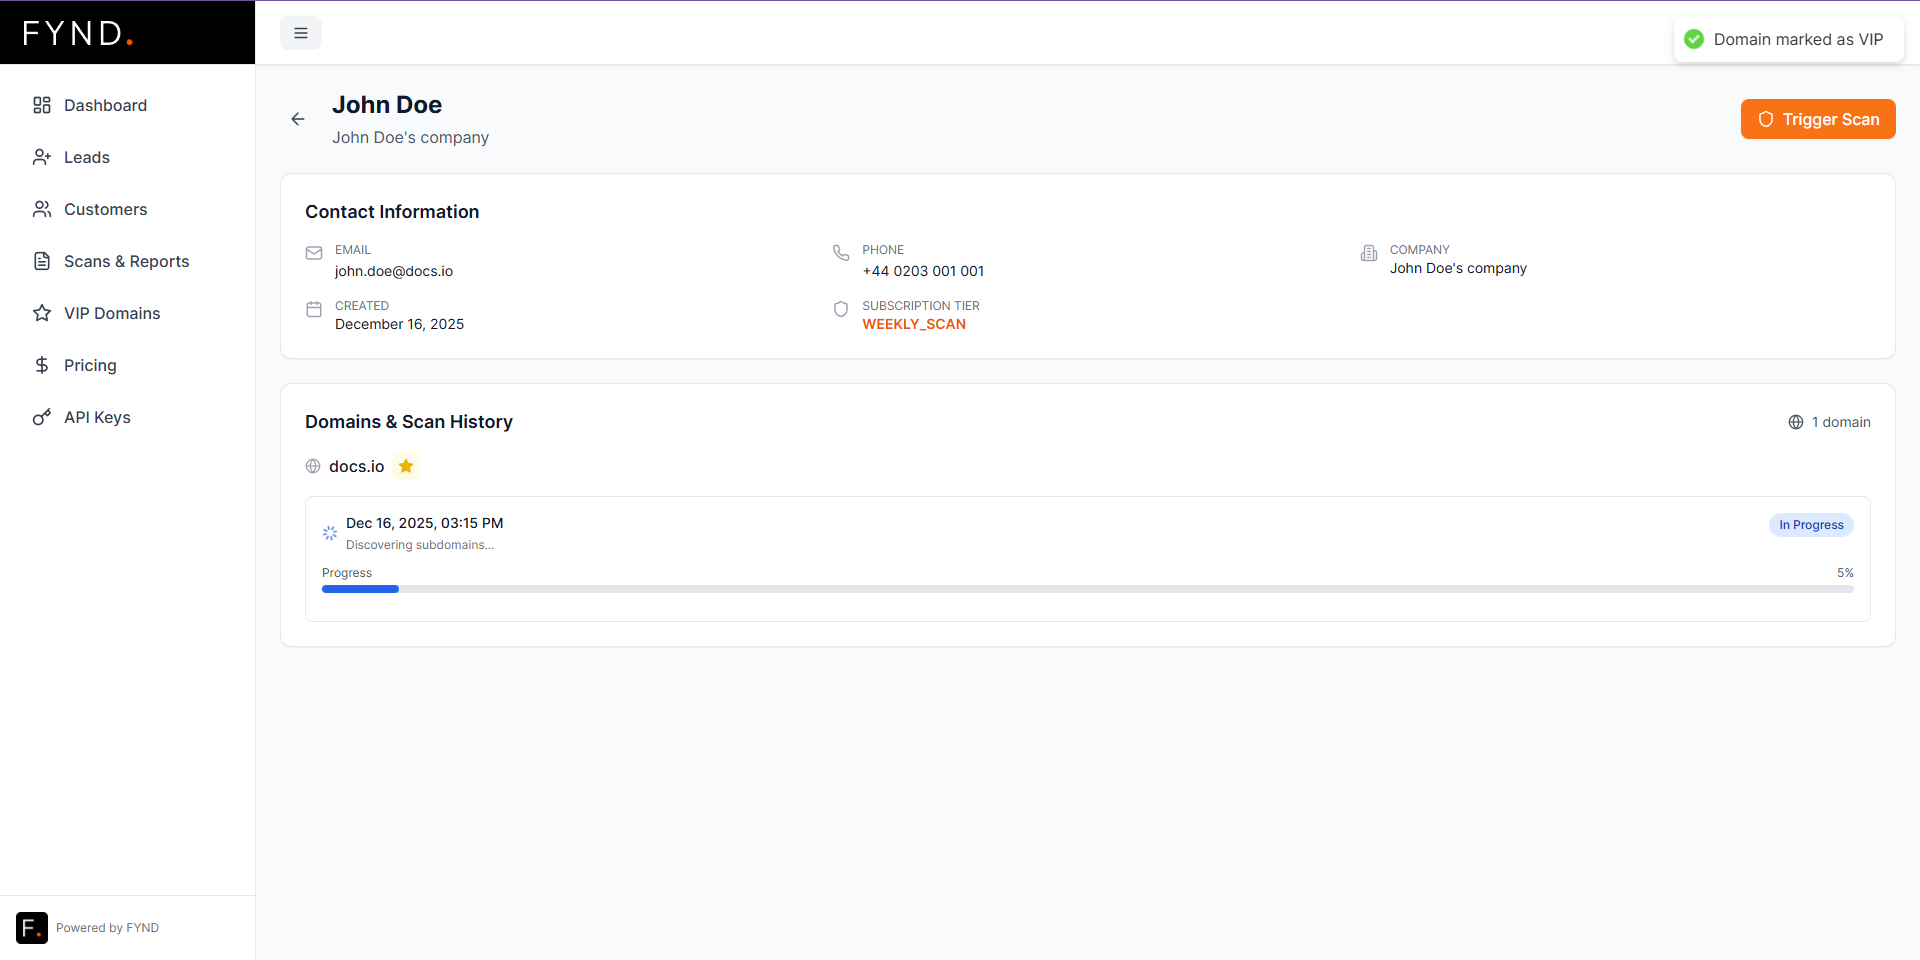
VIP domains receive additional attention and monitoring.
Once promoted, the domain will appear in the VIP section.
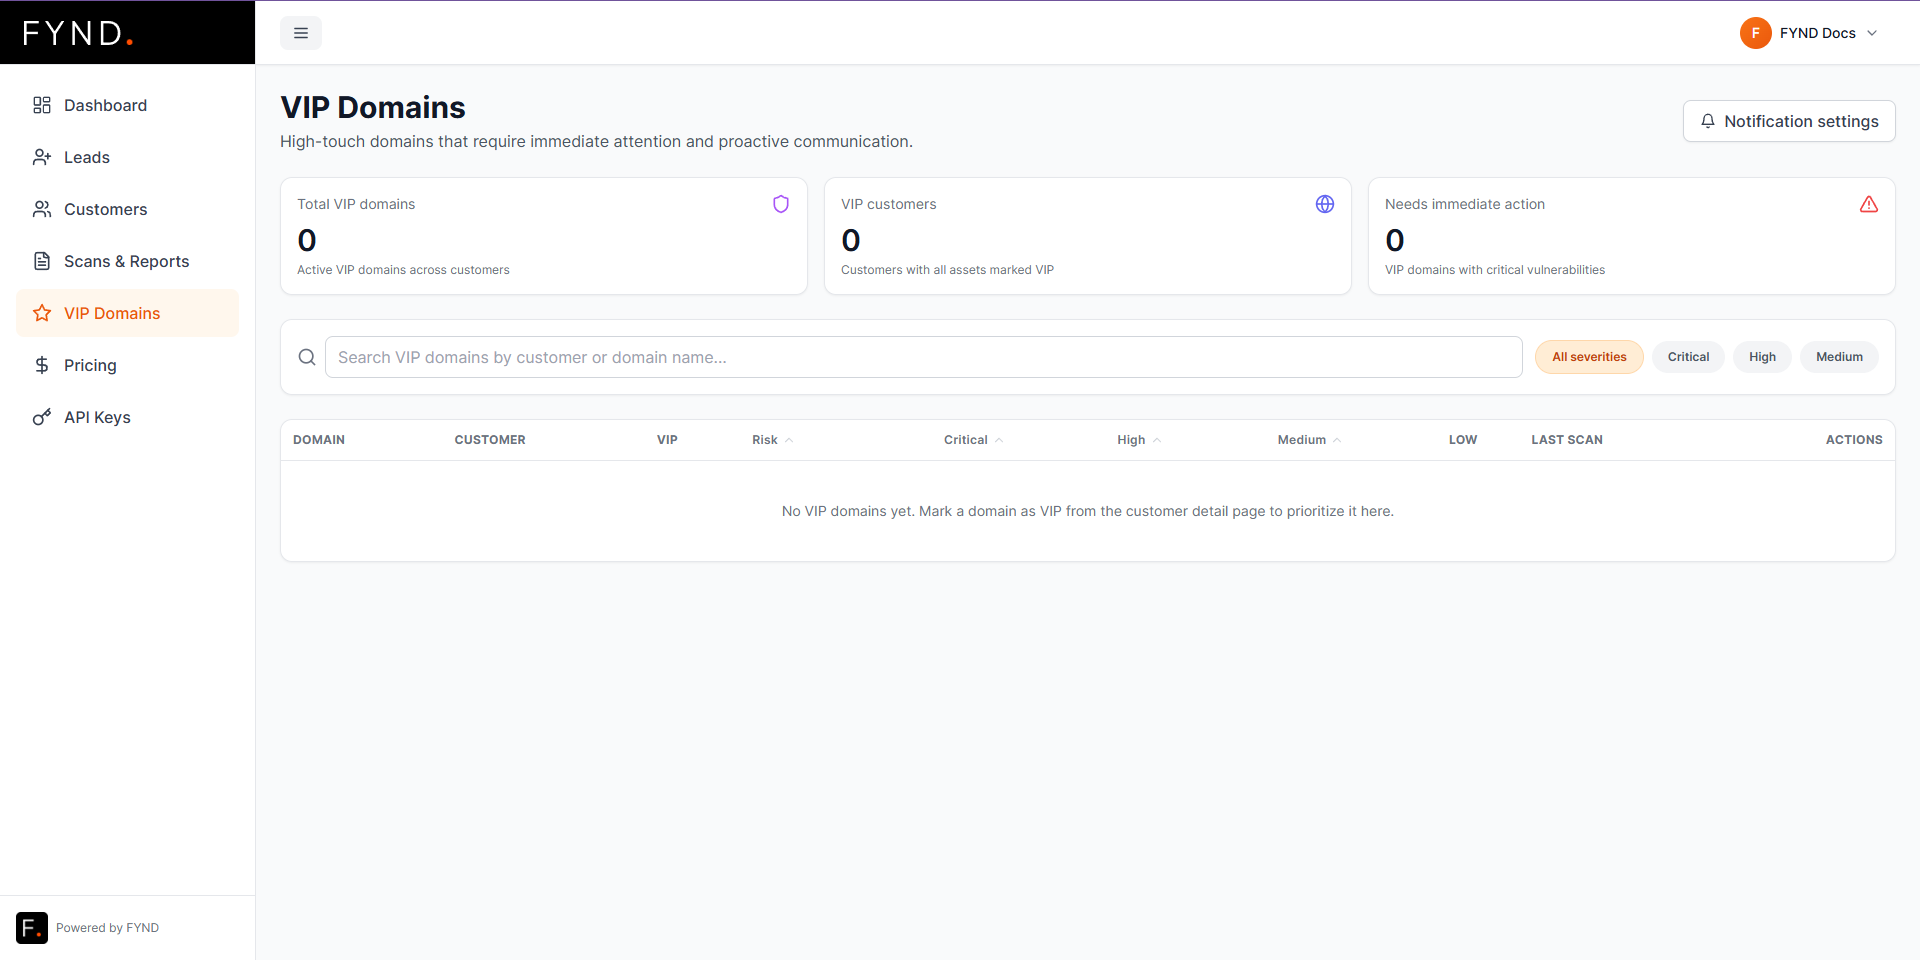
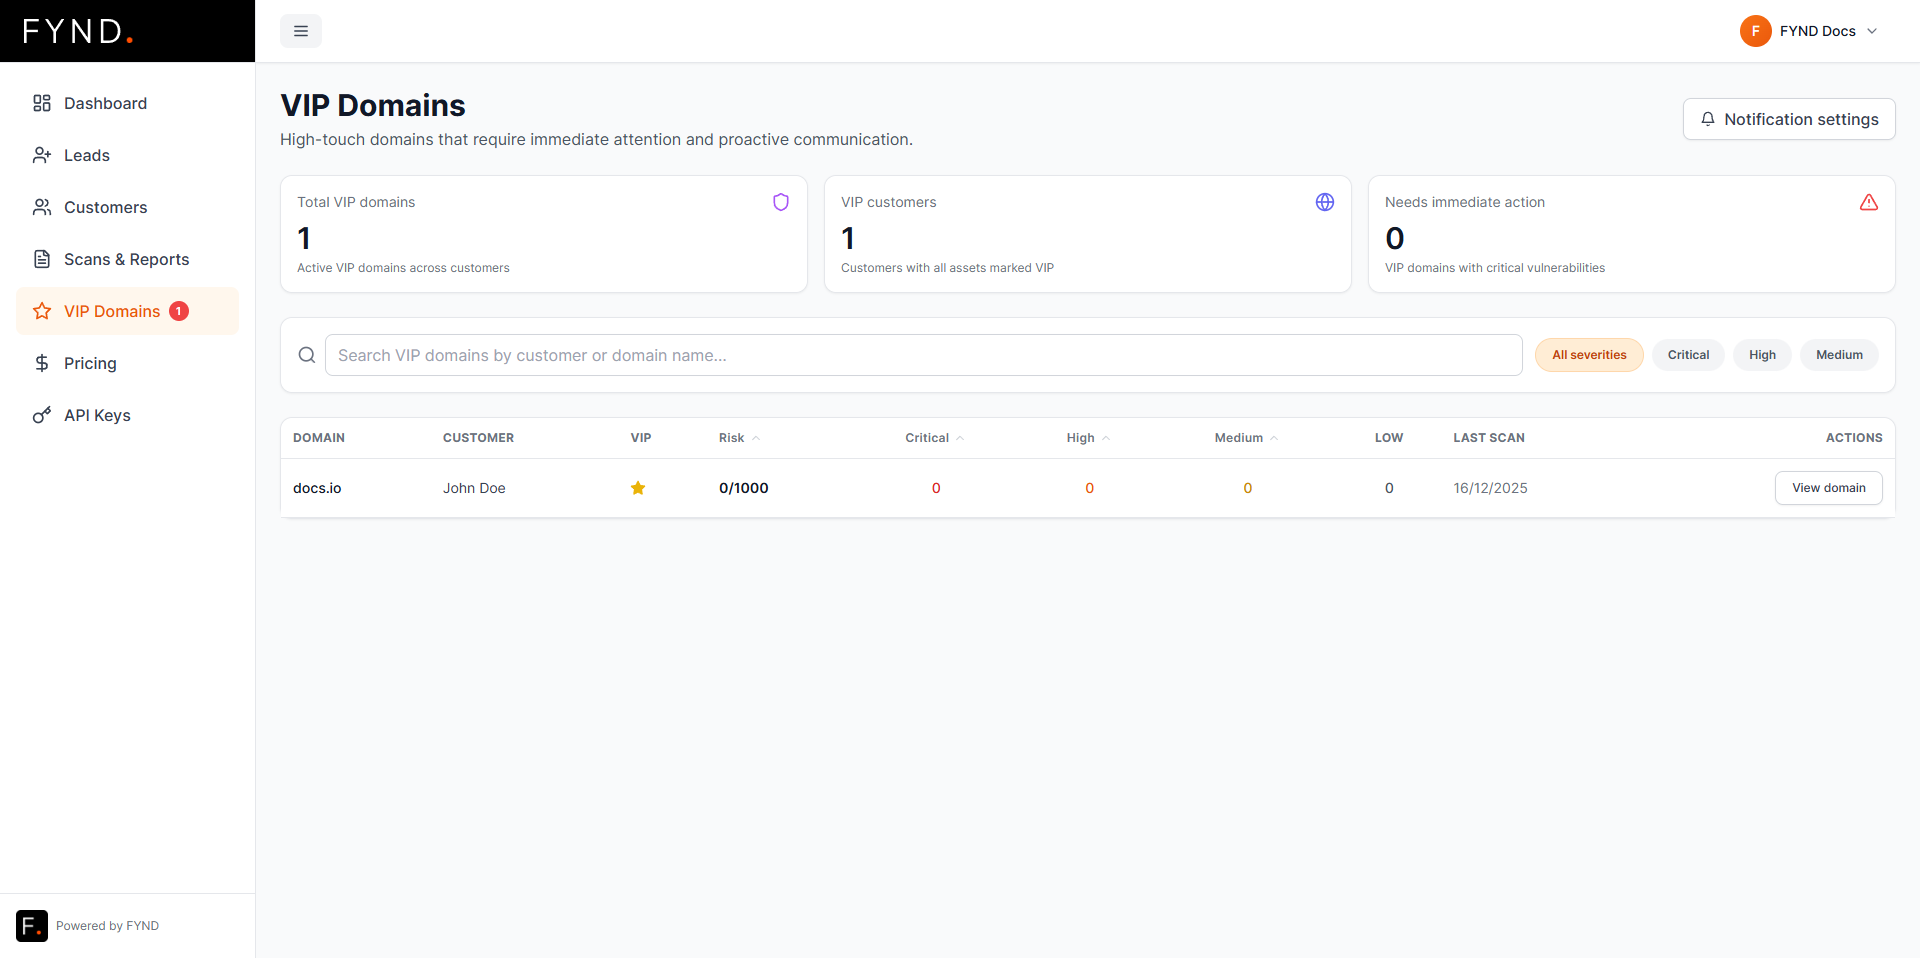
VIP Section and Notifications
The VIP page shows all domains marked as VIP.
Example after adding a VIP customer:
Notification settings
Clicking the button in the top right allows you to configure VIP notifications.
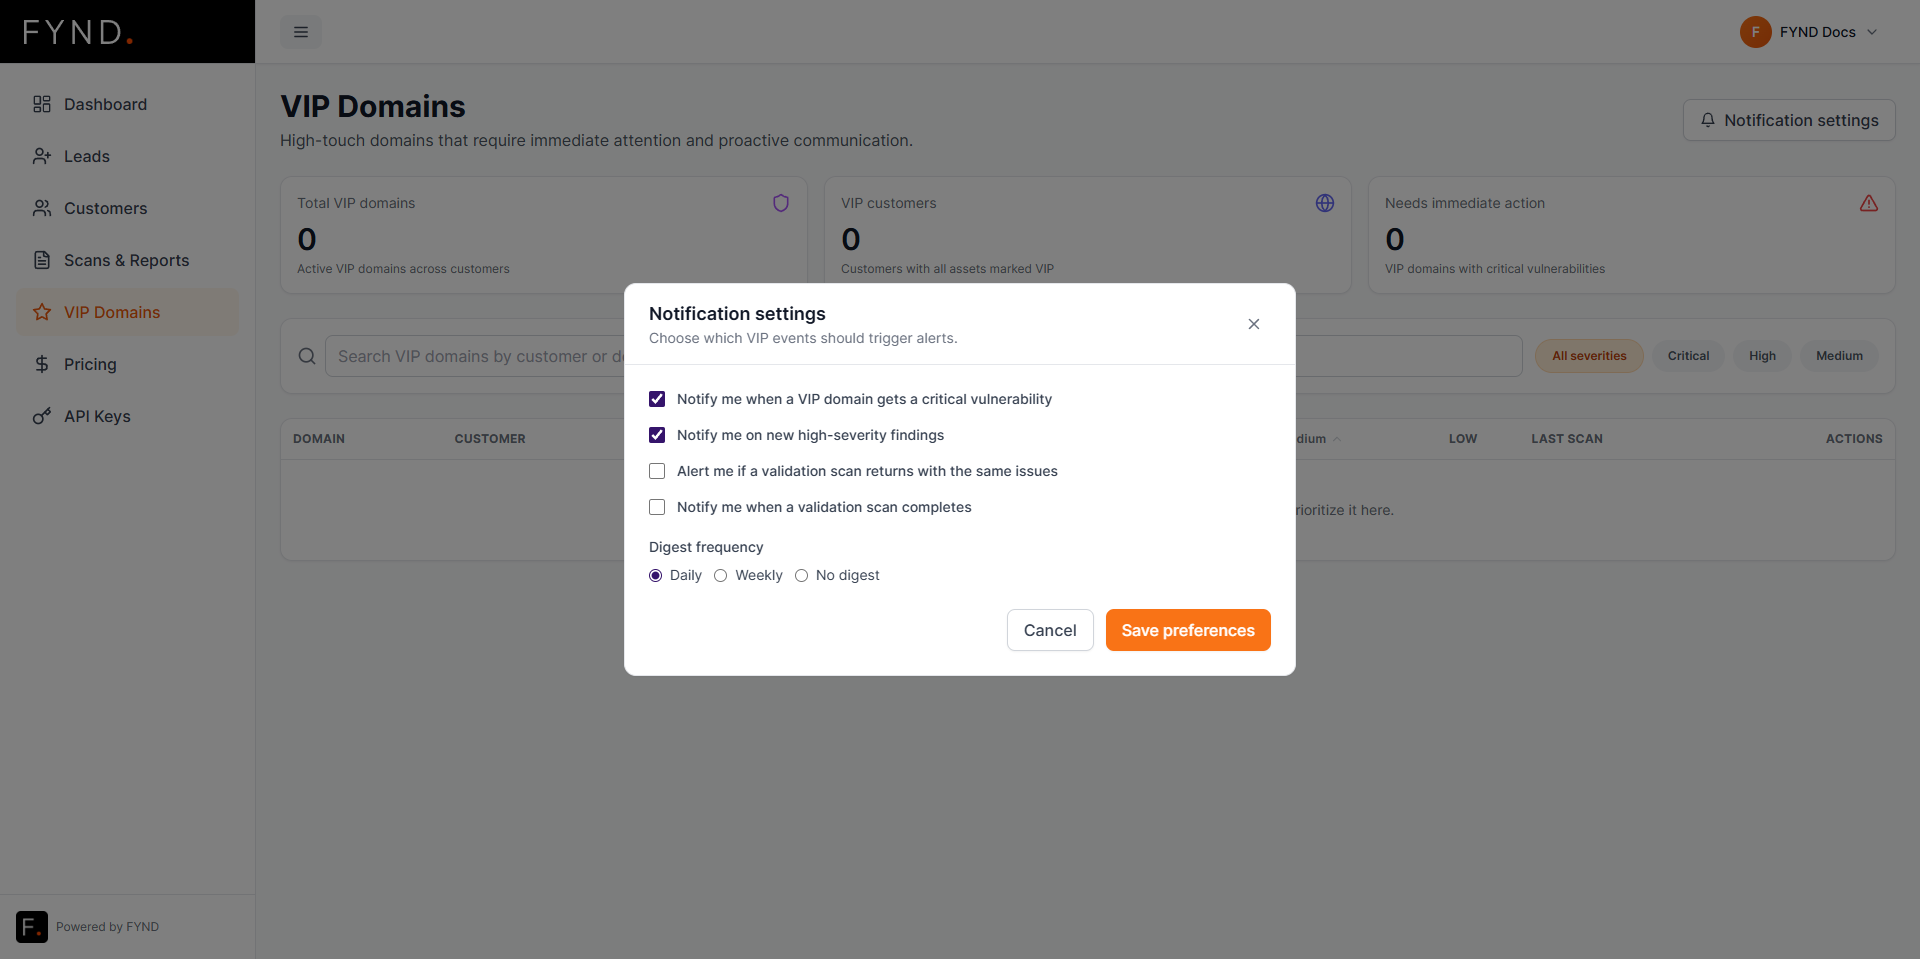
These settings control how and when you are notified about important changes or findings related to VIP domains.
Scans
The Scans page shows all scans across your leads and customers.
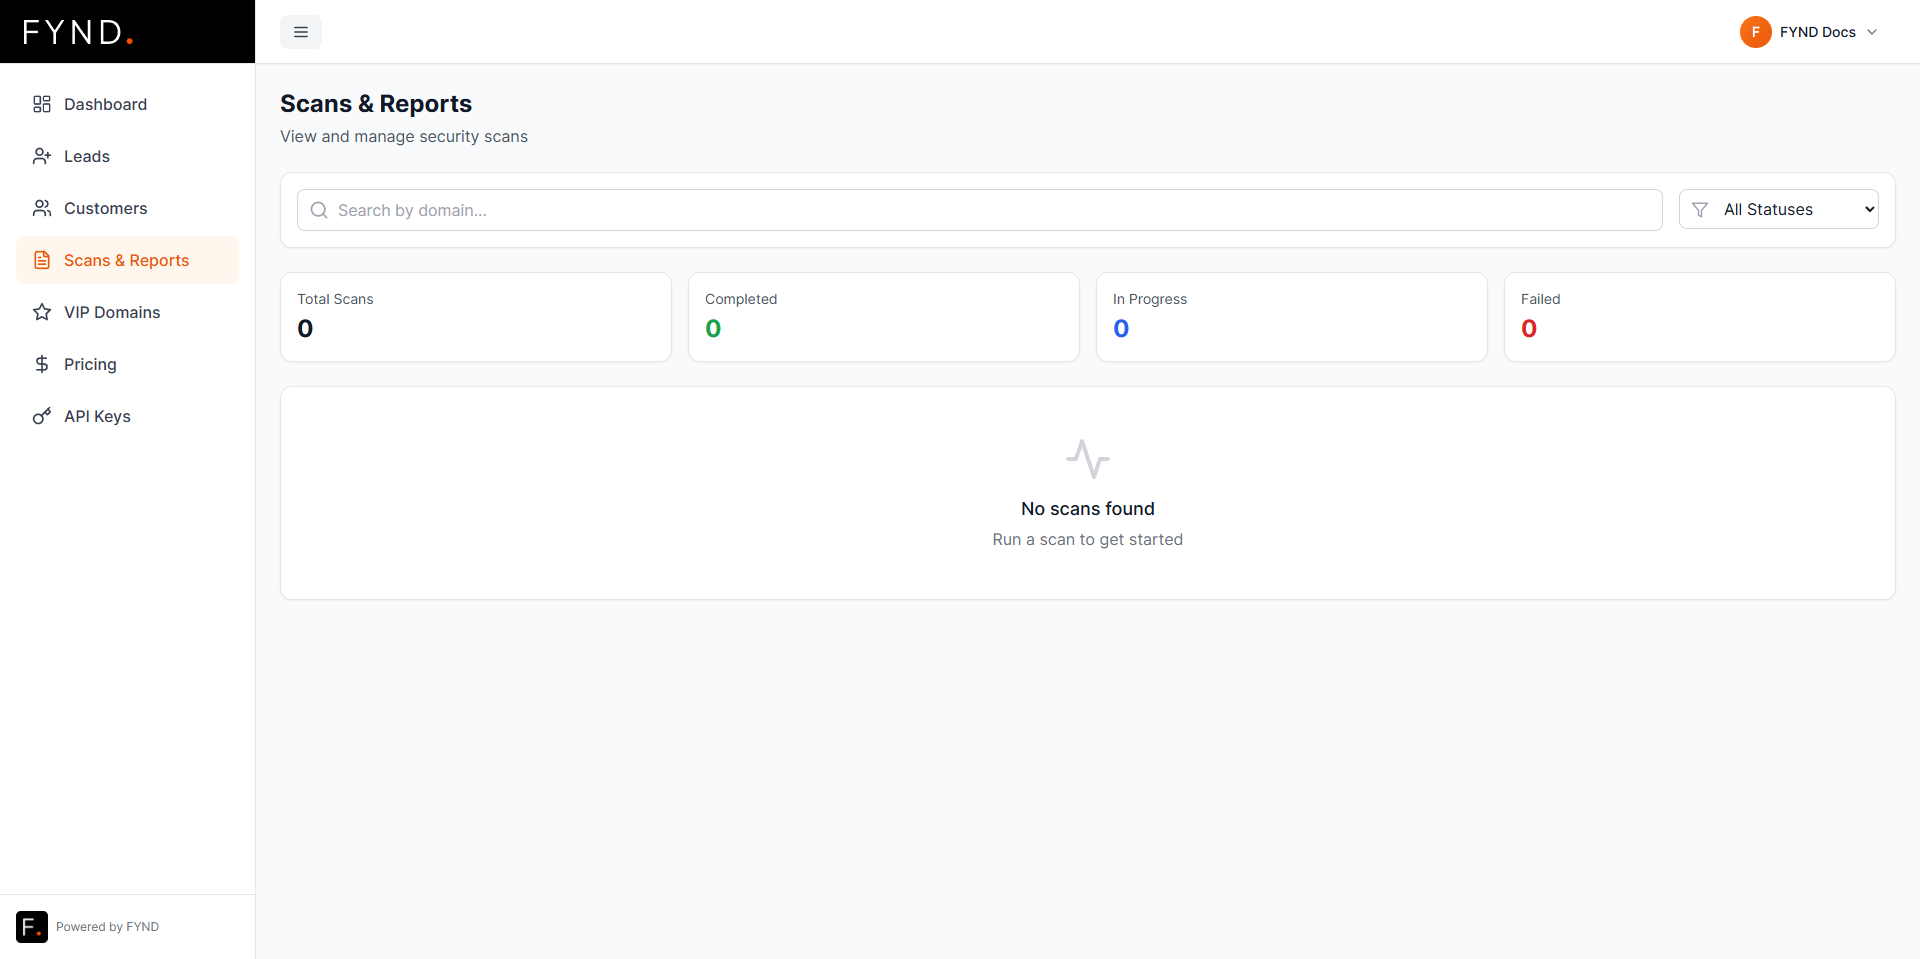
When a scan is running, you will see its status updated in real time.
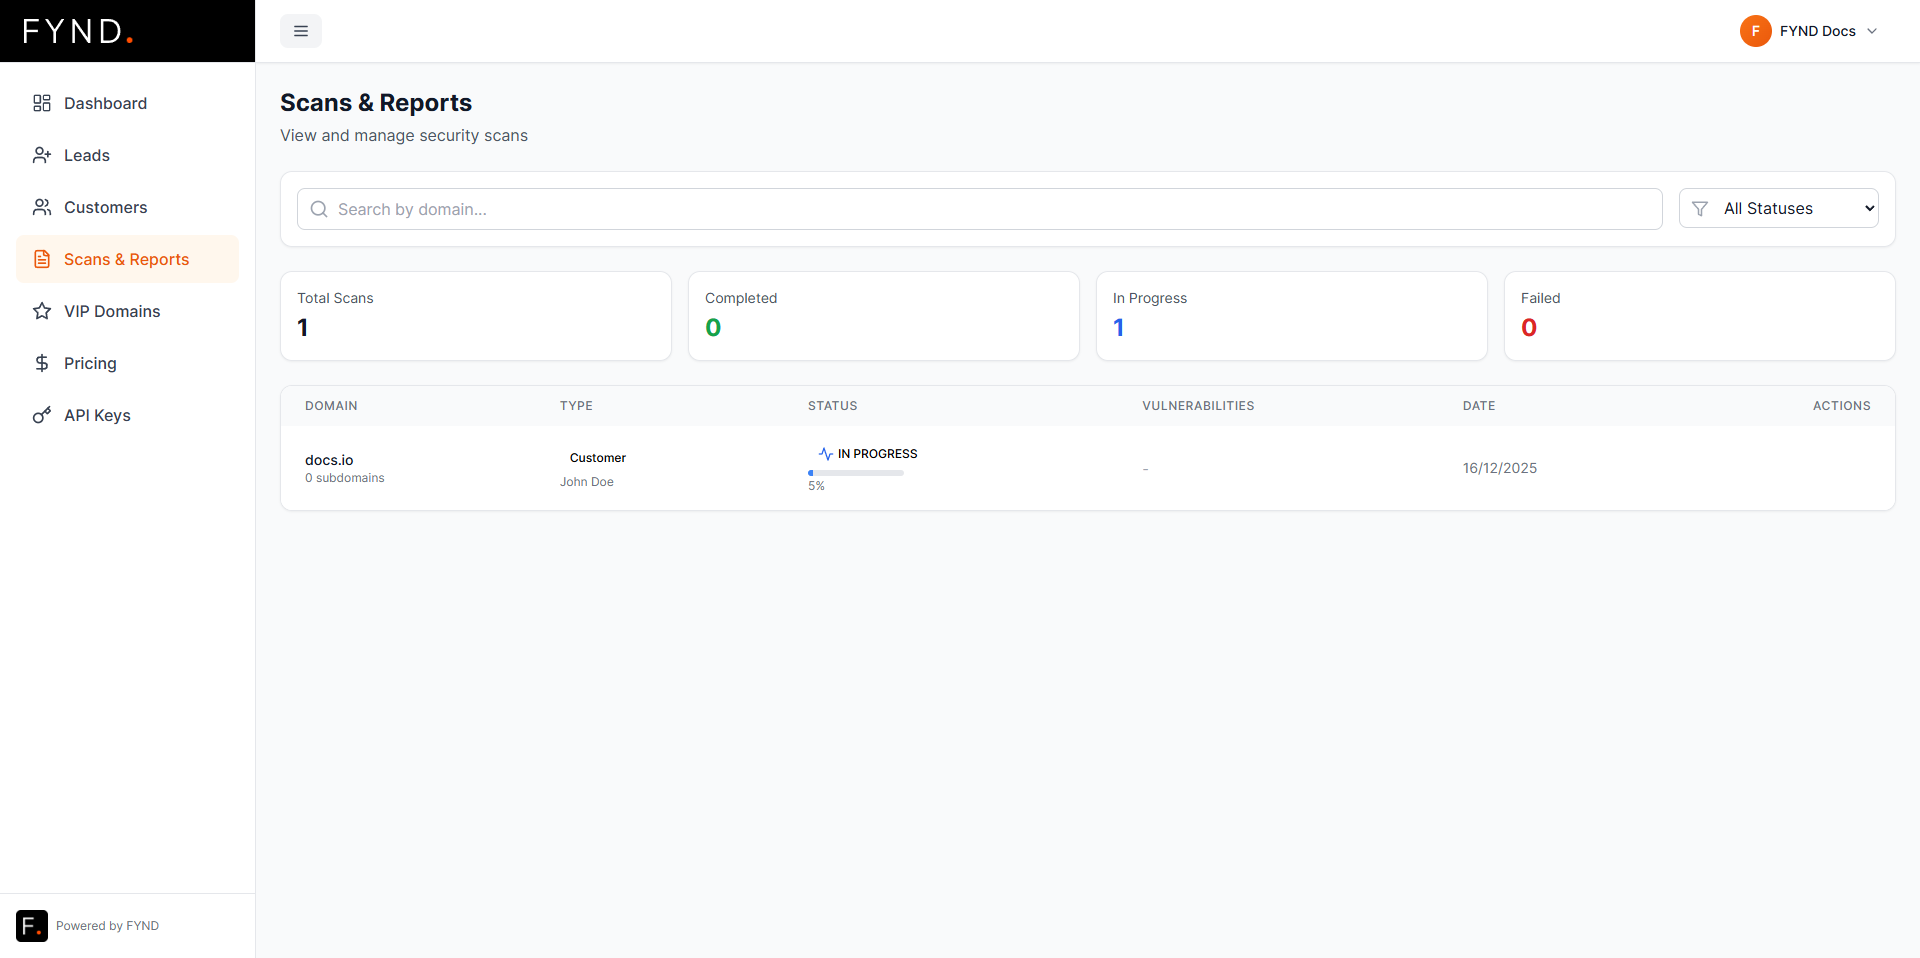
This page is useful for operational visibility, especially when running multiple scans in parallel.
Pricing and Earnings Forecast
The Pricing section helps you forecast revenue and profit.

How pricing works
- FYND charges you based on agreed partner rates.
- You define your own pricing per customer.
- The portal calculates the difference so you can clearly see your margin.
Updating customer pricing
You can adjust the price you charge a specific customer at any time.
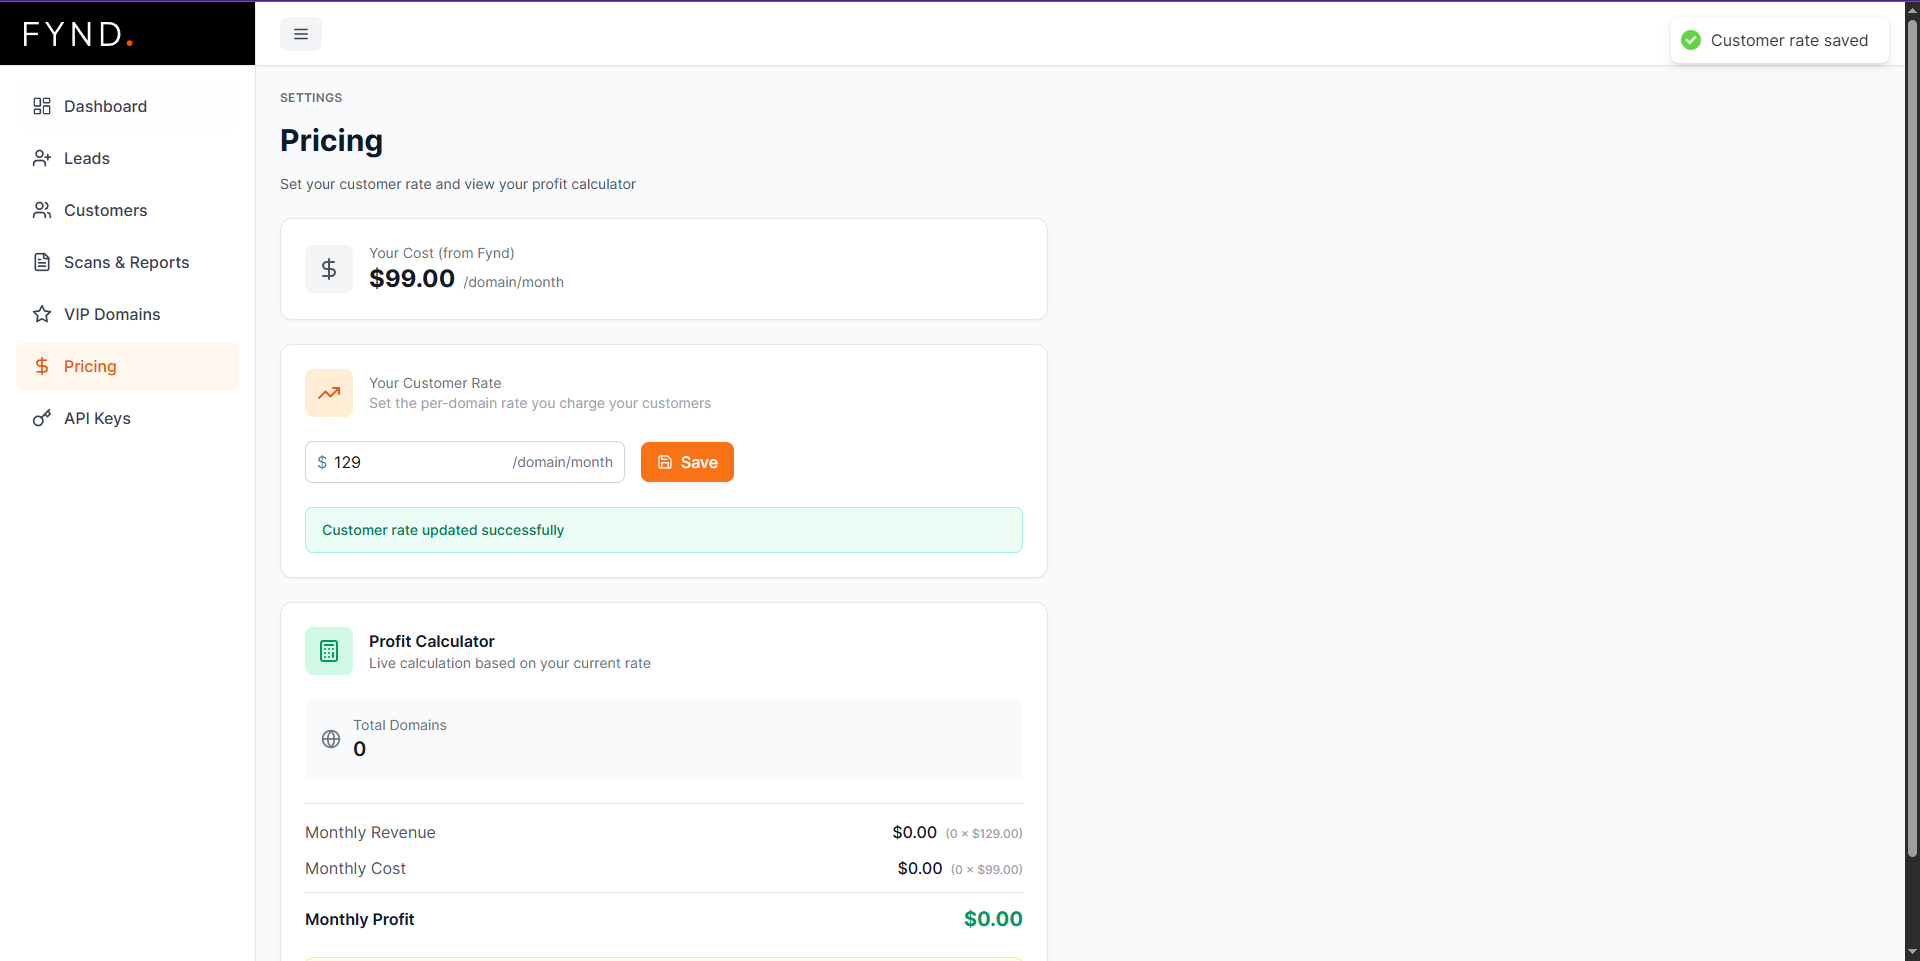
This is purely for forecasting and reporting purposes.
Actual invoicing to your customers is handled by you, outside of FYND.
API Keys
API Keys allow you to integrate the Partner Portal with external systems.
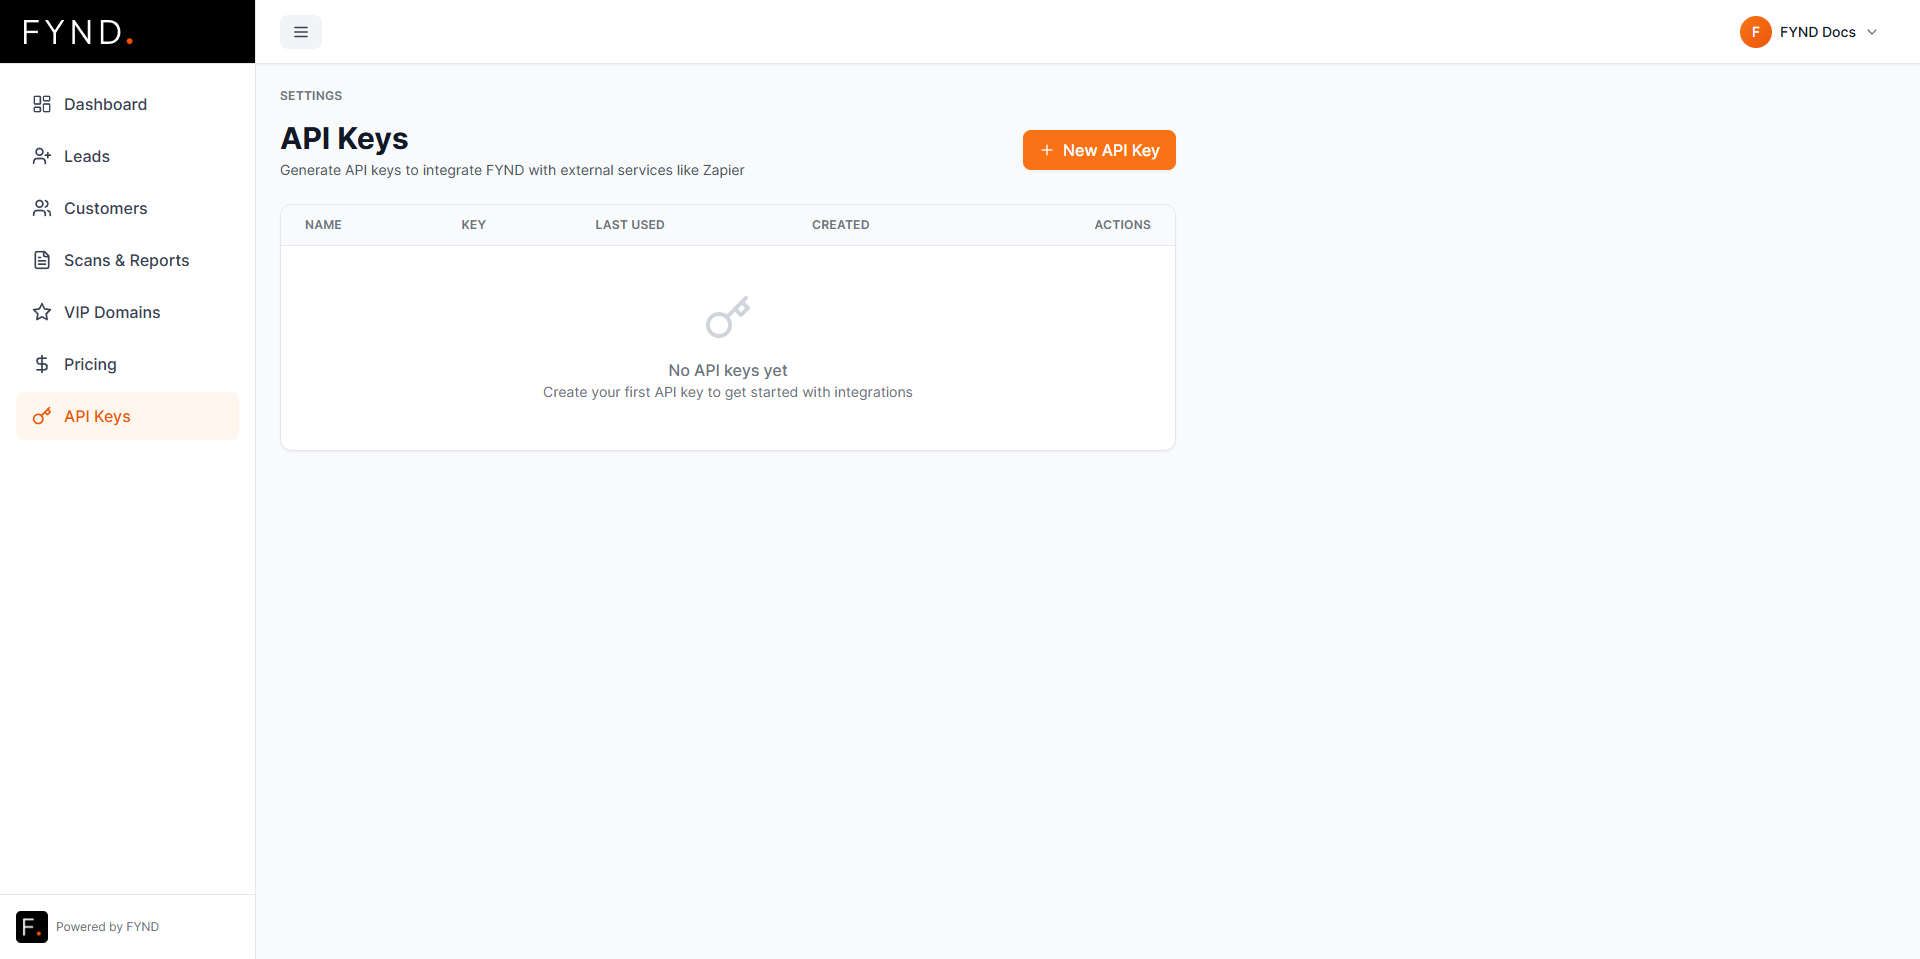
Creating an API key
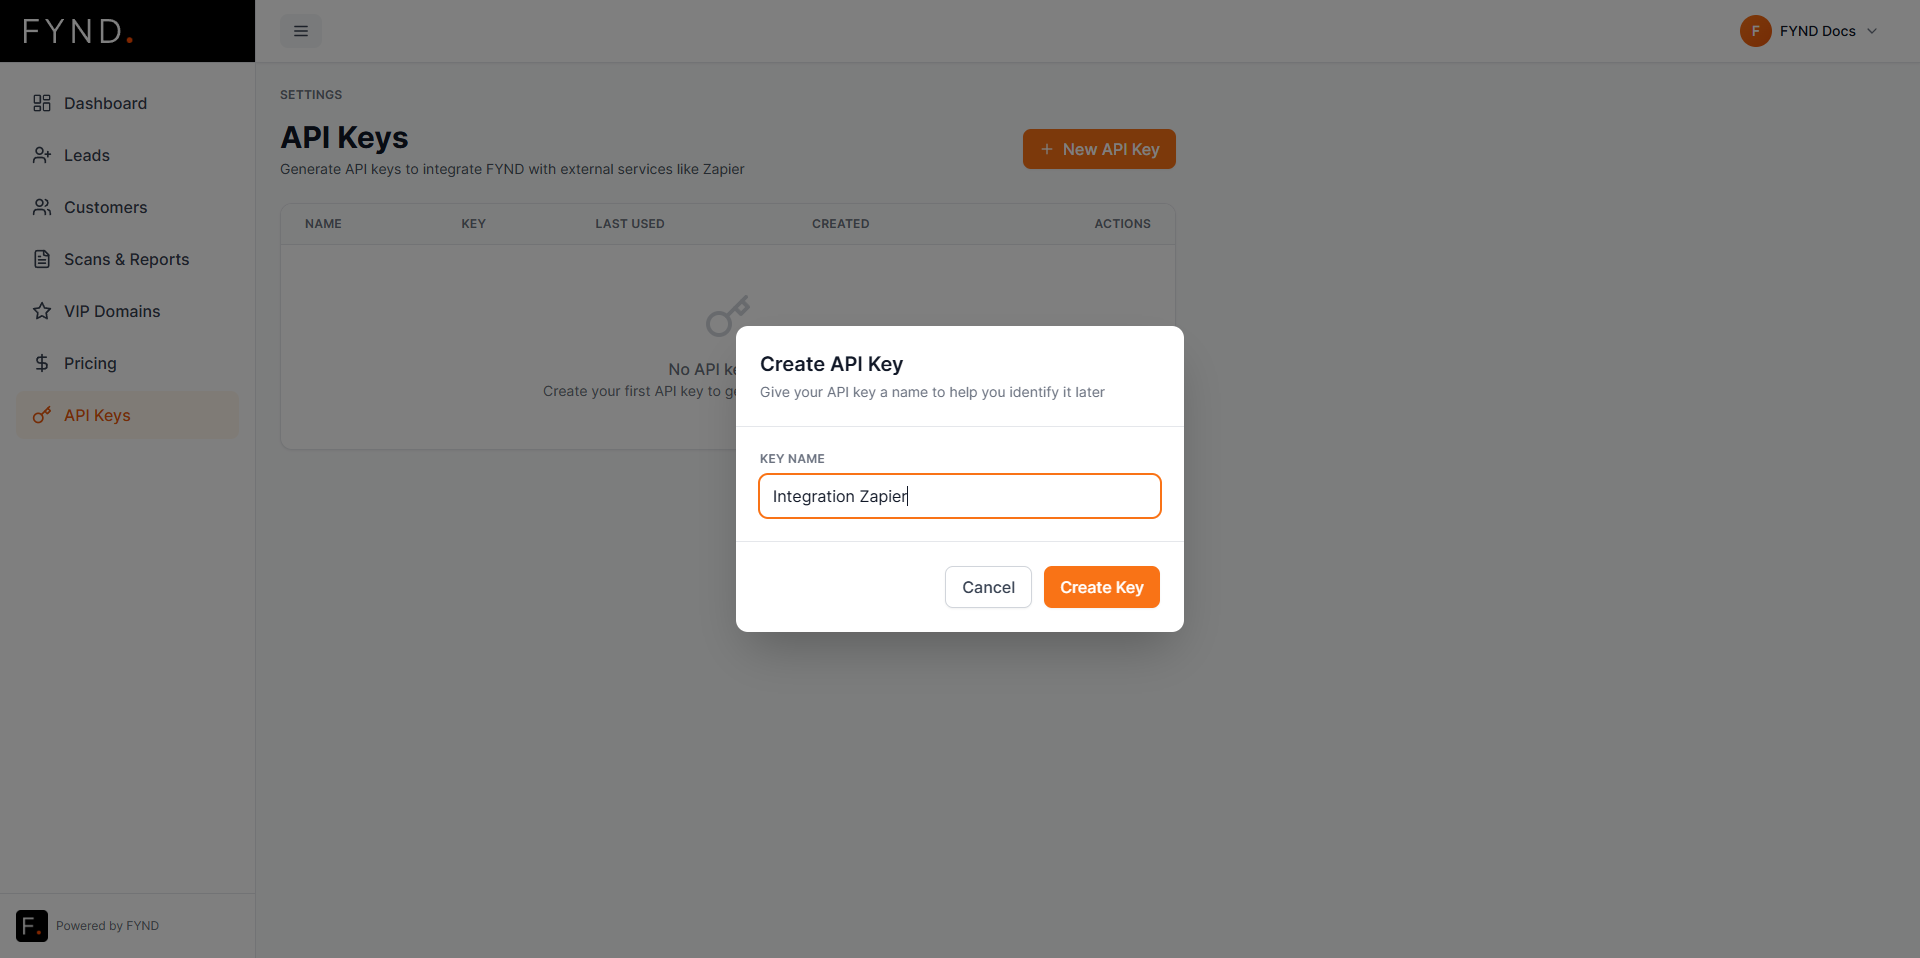
Click Create API Key in the top right.
In this example, we use Zapier as the integration name.
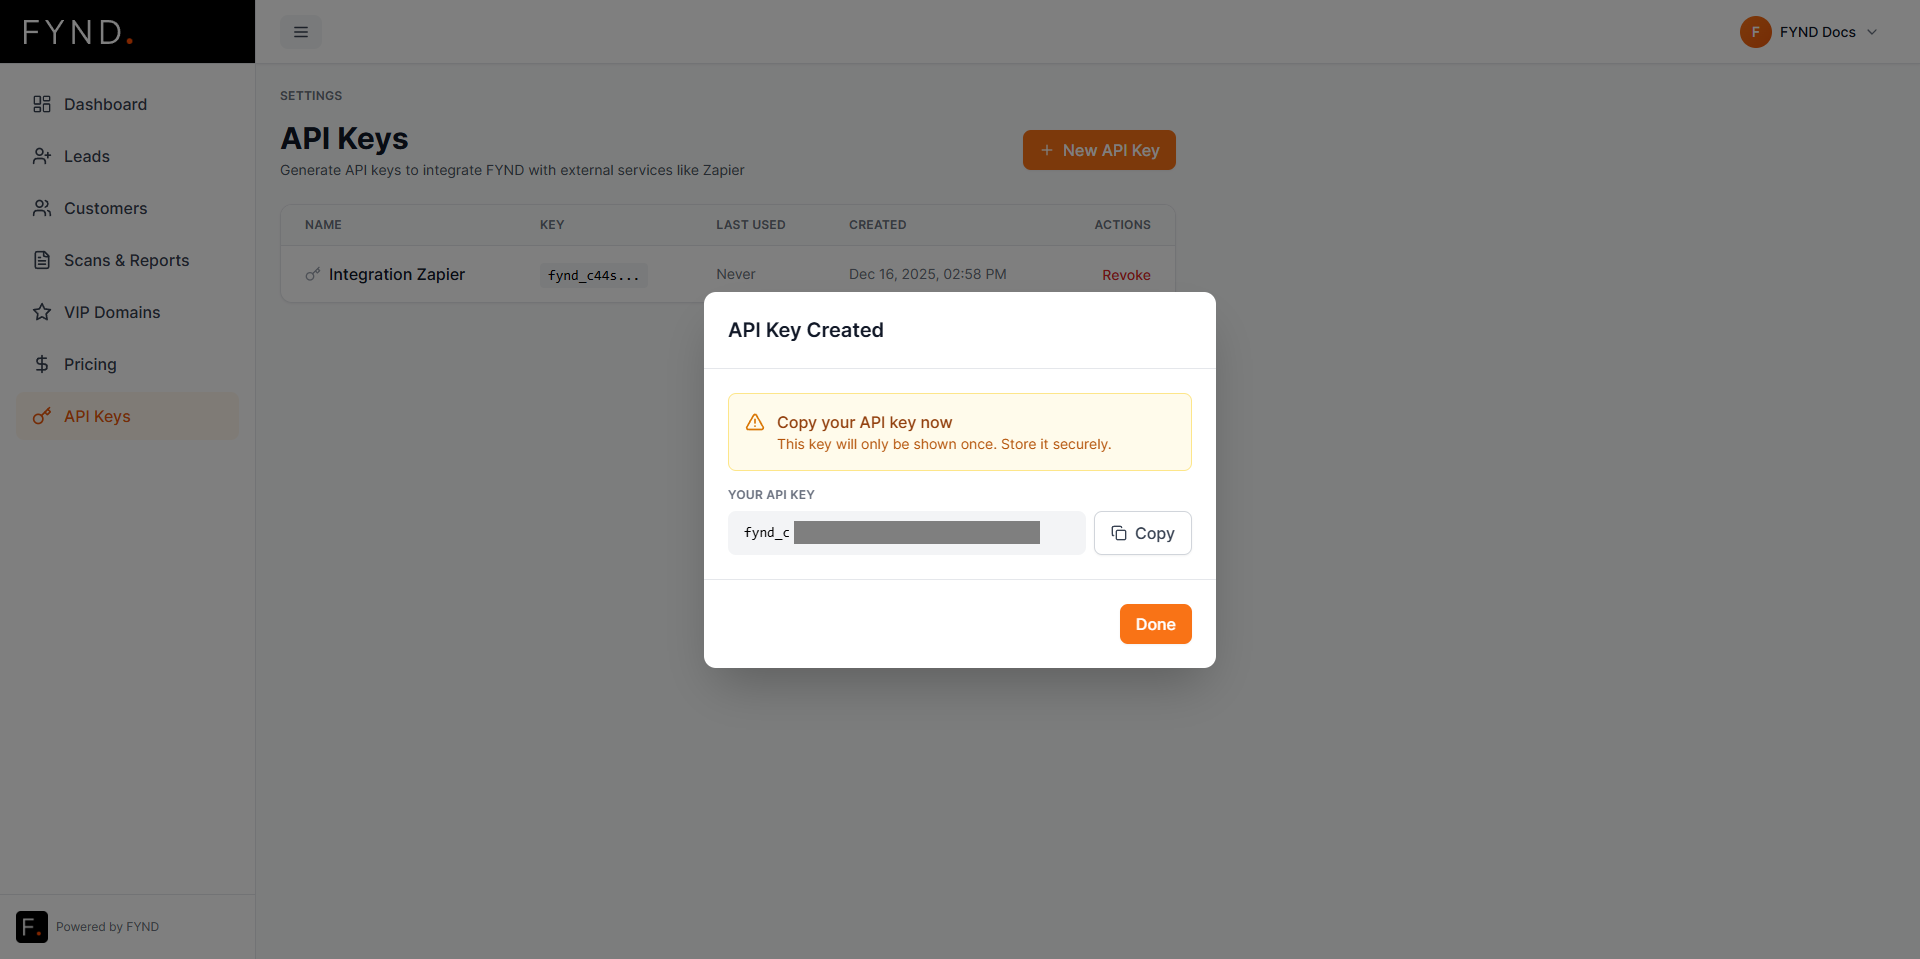
Once created, the key is shown once.
For security reasons, we hide the API key value in screenshots.
After saving, the key appears in the table.
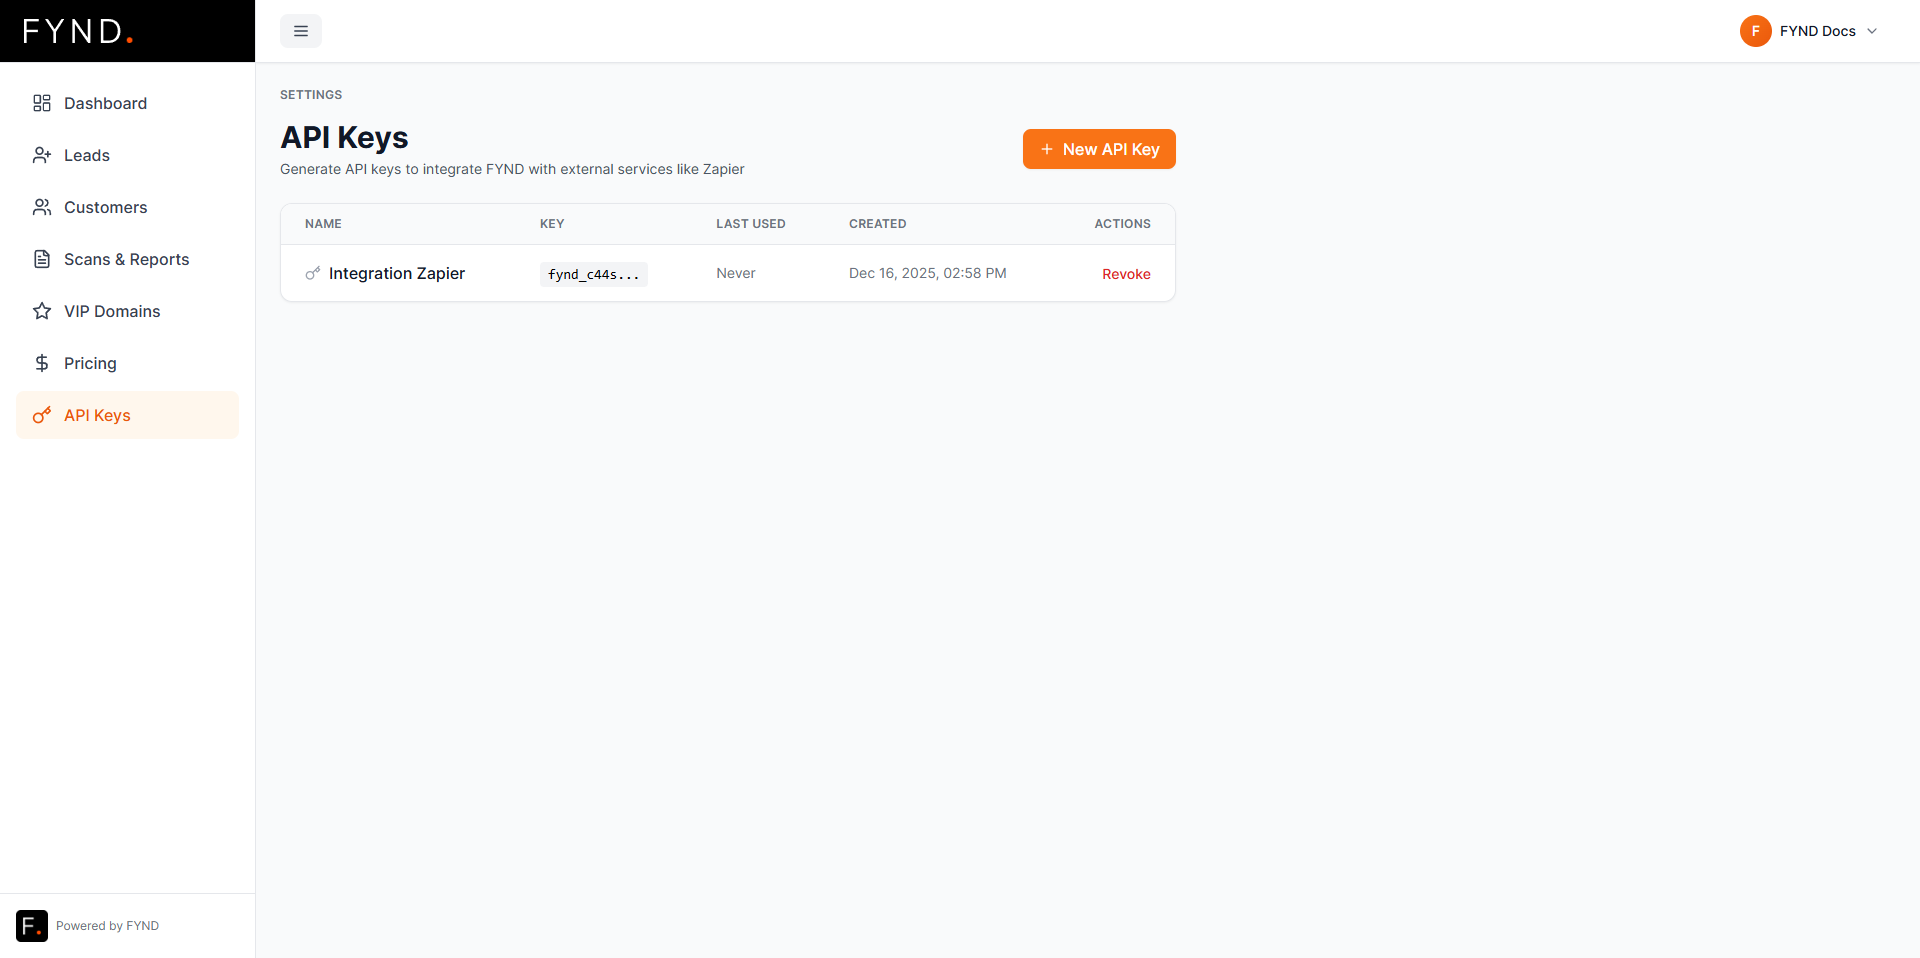
Revoking an API key
If a key is no longer needed or has been compromised, you can revoke it at any time.

Once revoked, the key immediately stops working.